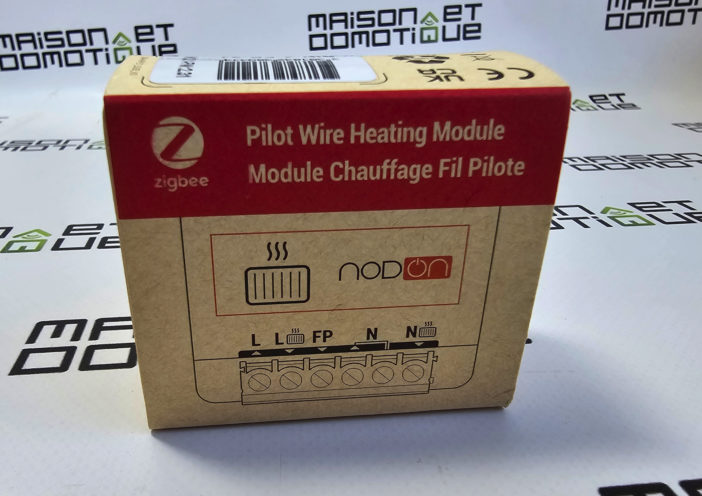
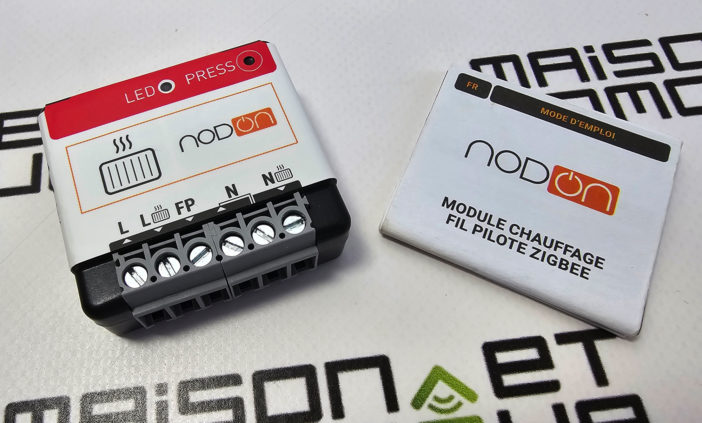
If there's one thing that isn't “easy” to integrate into home automation, it's our pilot wire electric radiators, which are a distinctly French specialty. And since the majority of home automation module manufacturers are foreign, you'll understand the difficulty of finding a ZigBee module capable of this task. Fortunately, in France, we have Nodon, which manufactures numerous home automation modules using various protocols. And its latest addition, the SIN-4-FP-21, is a micro pilot wire module that runs on ZigBee and even offers consumption monitoring! Having used it in real-life situations for much of the winter, I invite you to learn more about it. SIN-4-FP-21: Introducing the Nodon Pilot Wire Micro Module Nodon pays great attention to environmental issues, so the SIN-4-FP-21 pilot wire micro module comes in a tiny cardboard box, revealing the module type and its ZigBee logo:Inside, we find the Nodon SIN-4-FP-21 pilot wire micro module, along with its installation instructions:
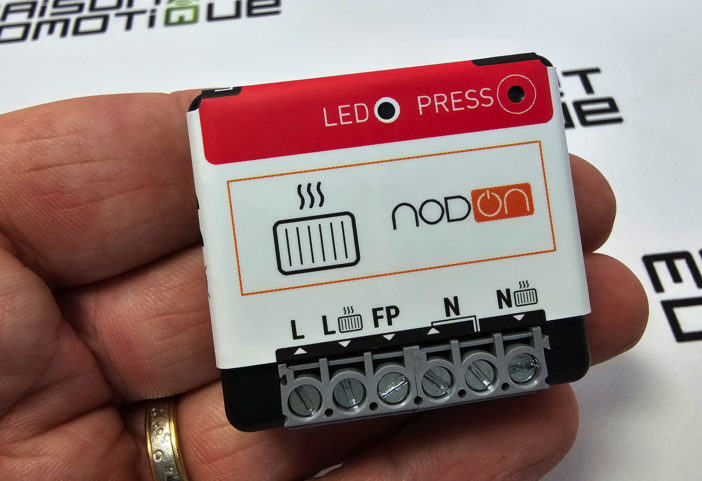
This micro module is very compact, measuring just over 4cm on each side and 17mm thick.
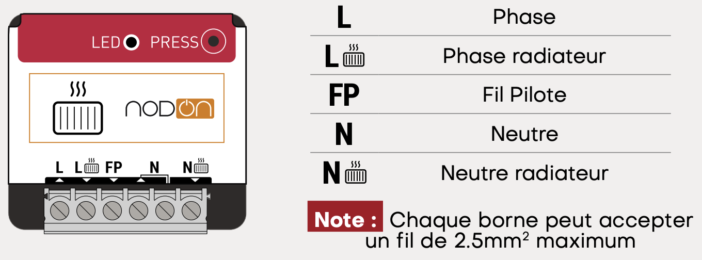
On the top, it has a status LED and a button for resetting or switching to pairing mode. On the bottom, there is the terminal block, which will receive the phase and neutral inputs, but will also power the radiator's phase and neutral. The FP terminal will of course accommodate the radiator's pilot wire to control it:
This design will greatly facilitate the connection of all cables, completely eliminating the need for Wago or terminal blocks!
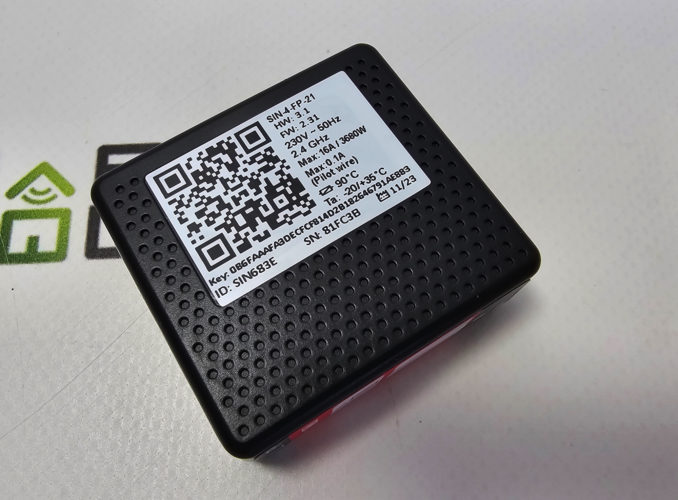
On the back, there's nothing to report except the identification label:
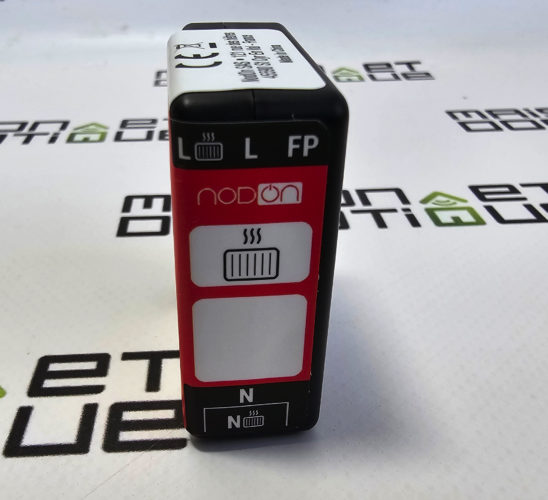
Important detail: the module has a label on the edge, which will allow it to be identified in an electrical panel:
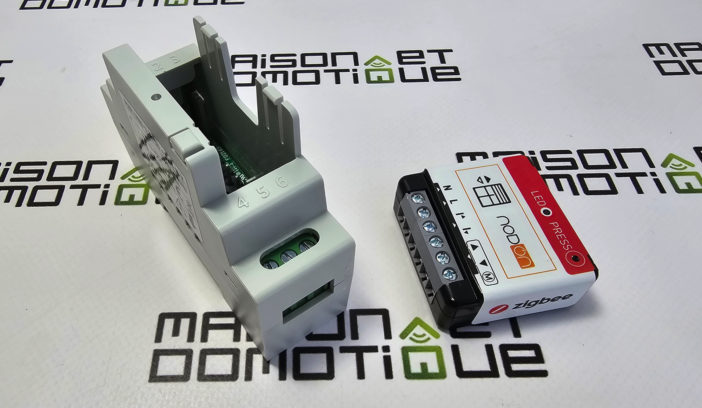
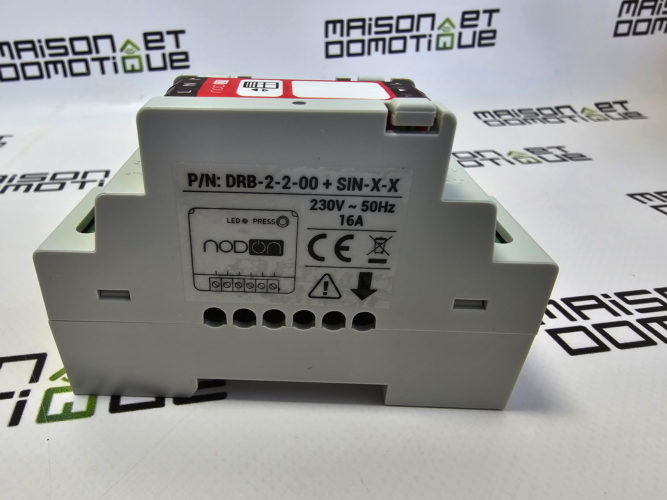
Indeed, the manufacturer's latest modules can be combined with a small accessory that allows the micro module to be used in DIN rail mode in an electrical panel:
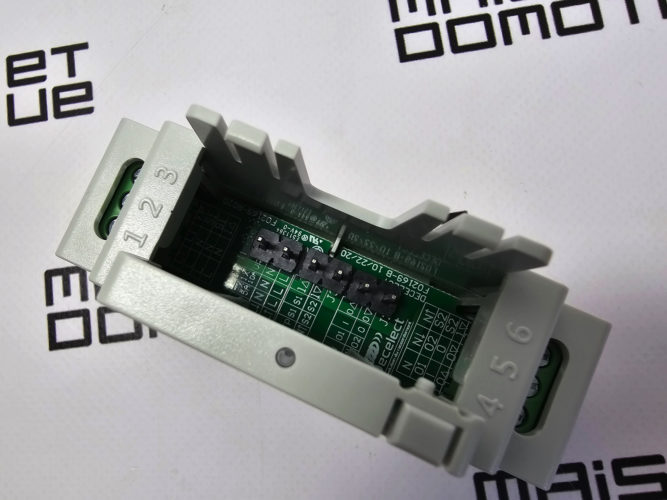
This accessory has the necessary connectors to accept all of the manufacturer's micro modules:
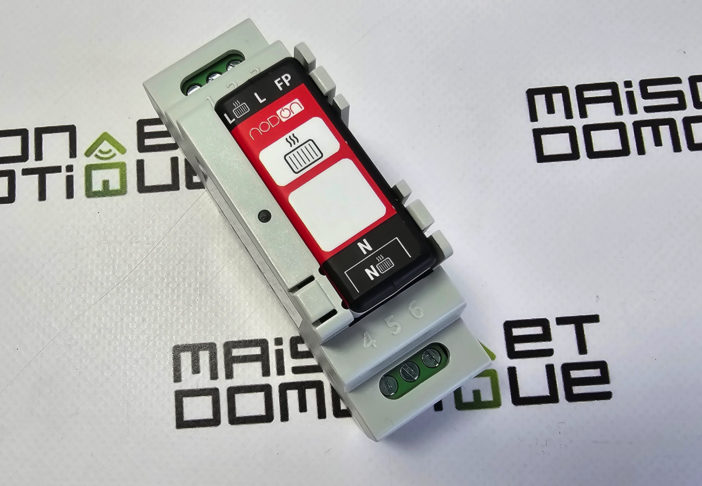
Simply insert the micro module into the adapter and tighten the terminal block screws on the side of the DIN rail module:
And there you have it, a ZigBee pilot wire module in DIN rail format! The labeling shows the terminal block key to be used for connection, as well as a space to label the module: A truly clever system! Especially since the module's LED is located on the left side of the adapter, as is the pairing button on the bottom left. This seamless integration into the electrical panel preserves all the module's capabilities without the need to disassemble it. Let's move on to practical installation. Installing the Nodon Pilot Wire Micro Module
This SIN-4-FP-21 module can be installed in two different ways: directly behind the electric radiator to be controlled, or in the electrical panel, where the pilot wires are located.
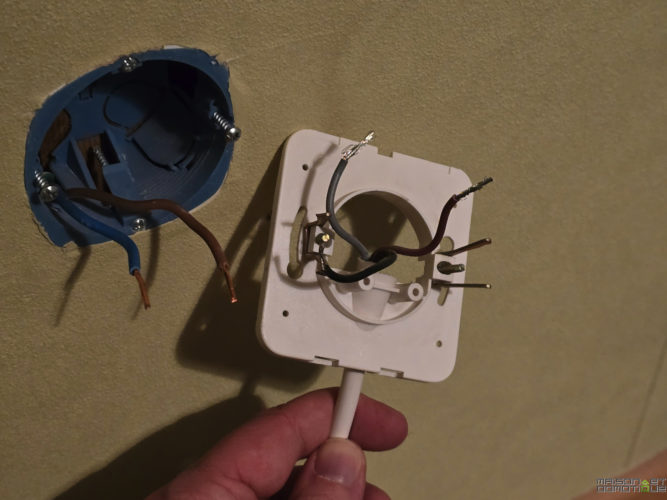
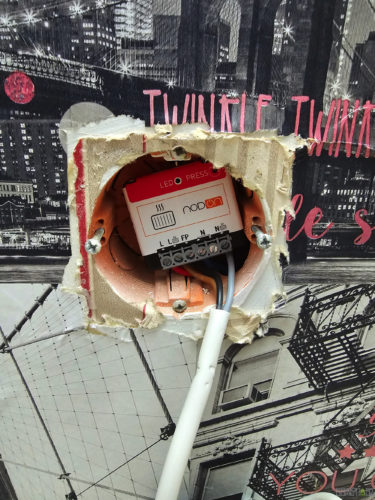
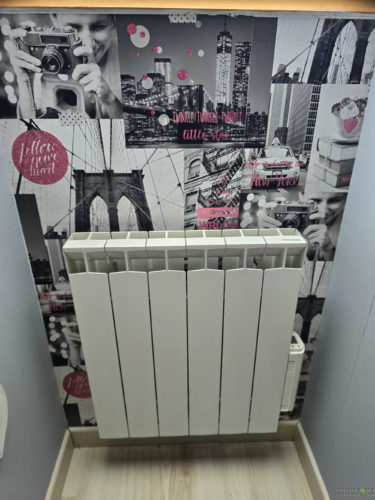
Most of my radiators were equipped with the Nodon ZigBee pilot wire micro module directly in their flush-mounted box. Simply disassemble the radiator and disconnect the existing cables:
Then connect the live and neutral inputs to the pilot wire micro module:
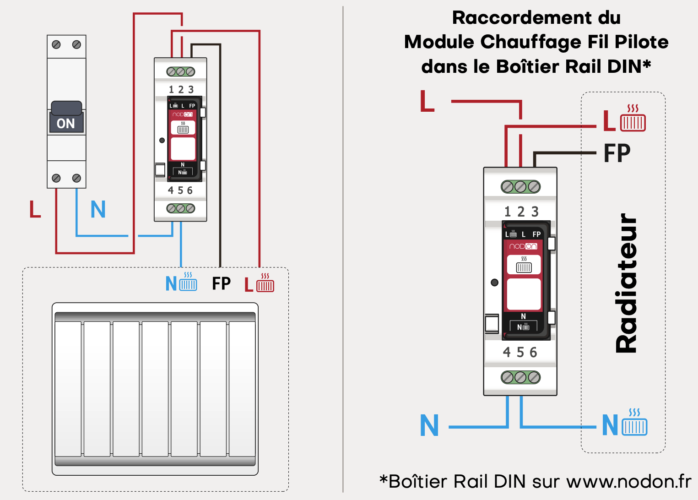
Then connect the radiator's live and neutral directly to the micro module, followed by its pilot wire (usually black):
The terminal block has a clear legend, eliminating the need to read the instructions. All you need is the micro module and a screwdriver, and follow the instructions.
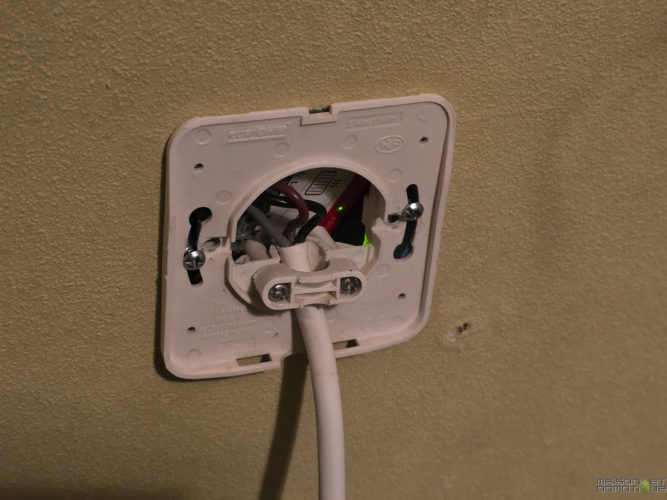
We can then close the assembly. We appreciate the compact size of the micro module, which allows it to fit easily into a standard flush-mounted box. If you can use a 50mm deep box, it's always more convenient, of course ;-)
I installed the units in the different rooms as follows:
Attention : Avant de travailler sur l'alimentation électrique, assurez-vous que le compteur est éteint ! Nous travaillons ici sur du 230V, ce qui peut être fatal en cas de mauvaise manipulation. En cas de doute, faites appel à un professionnel.
Removing the radiator
Installing the module
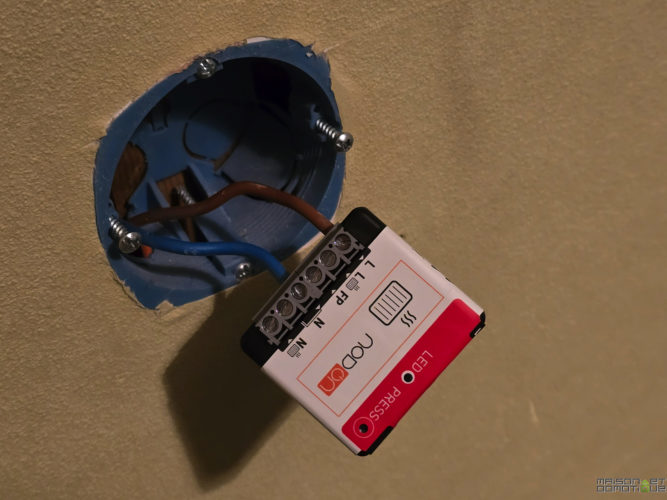
Replacing the radiator
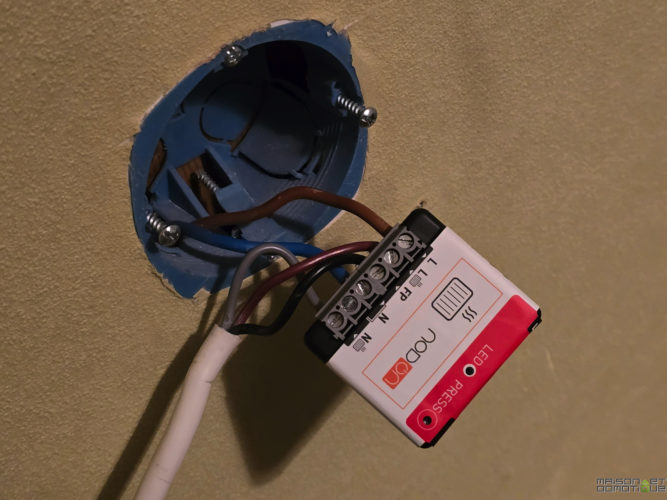
An electric radiator is normally easy to remove, so installing the micro module takes 5 to 10 minutes maximum per radiator.
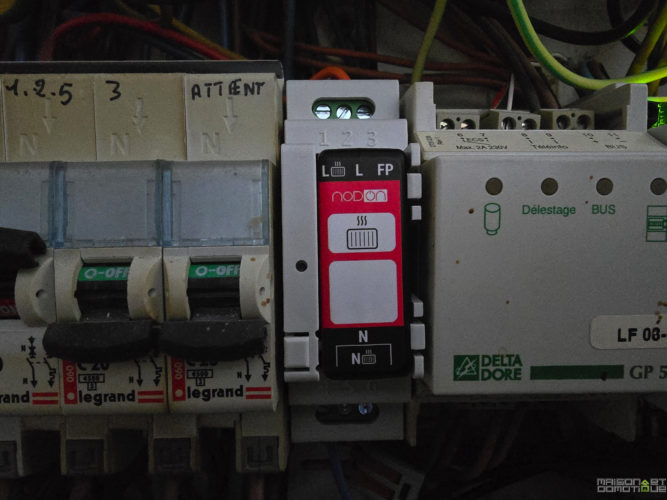
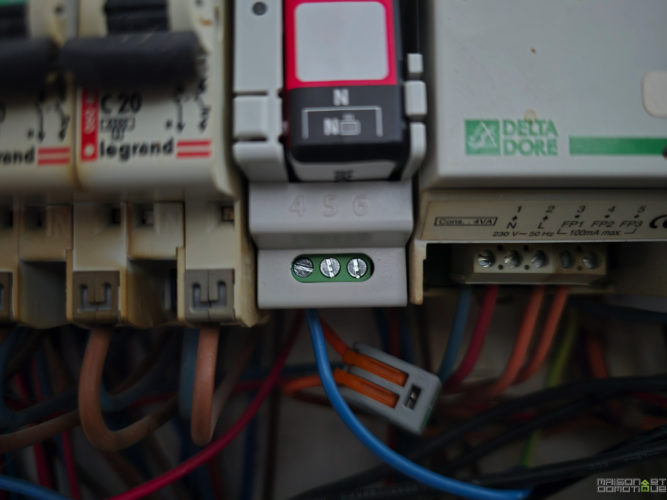
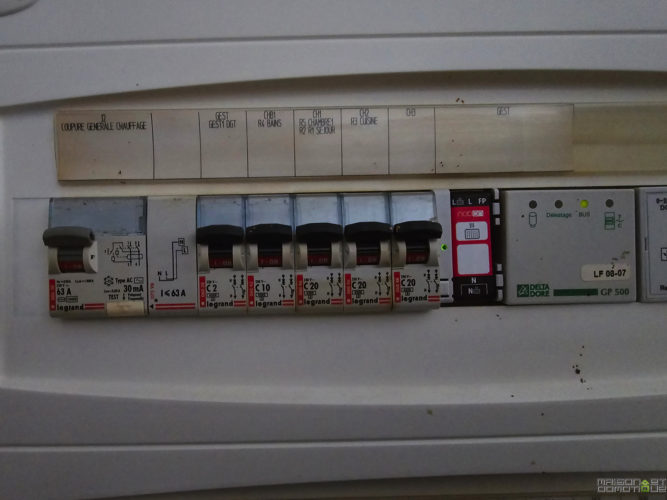
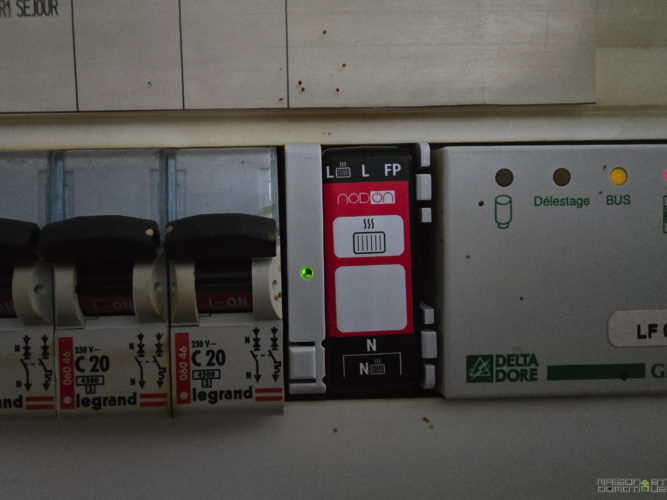
For the living room, since I have several radiators in this large room, I opted for installation directly in the electrical panel, which allows all the radiators to be controlled as if they were a single unit. It's simpler, and more economical too, since a single micro module is enough.
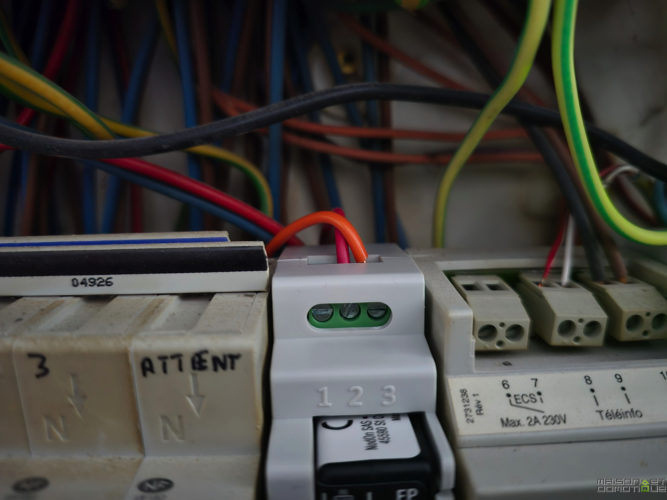
So, we install the micro module in the electrical panel, then connect the live, neutral, and pilot wires. Caution: Depending on how the electrical panel is wired, it may be difficult to connect the live and neutral wires supplying the radiators, as several devices can be connected to the same circuit breaker. For example, in my house, I have the radiators in the living room and the master bedroom on the same circuit breaker, so it's difficult to separate them. The main thing is to be able to control the pilot wire for the zone you want to control. In the worst case, you won't be able to monitor your electricity consumption, that's all, but you'll at least be able to control the radiator commands.
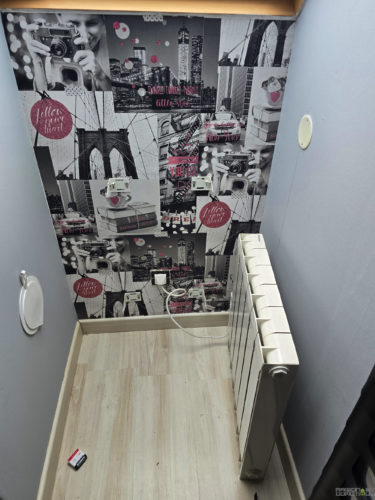
Please note: To make things easier, especially for modules installed behind radiators, it's best to include them in the home automation system before physically installing the modules in their final location.
Installation in Jeedom
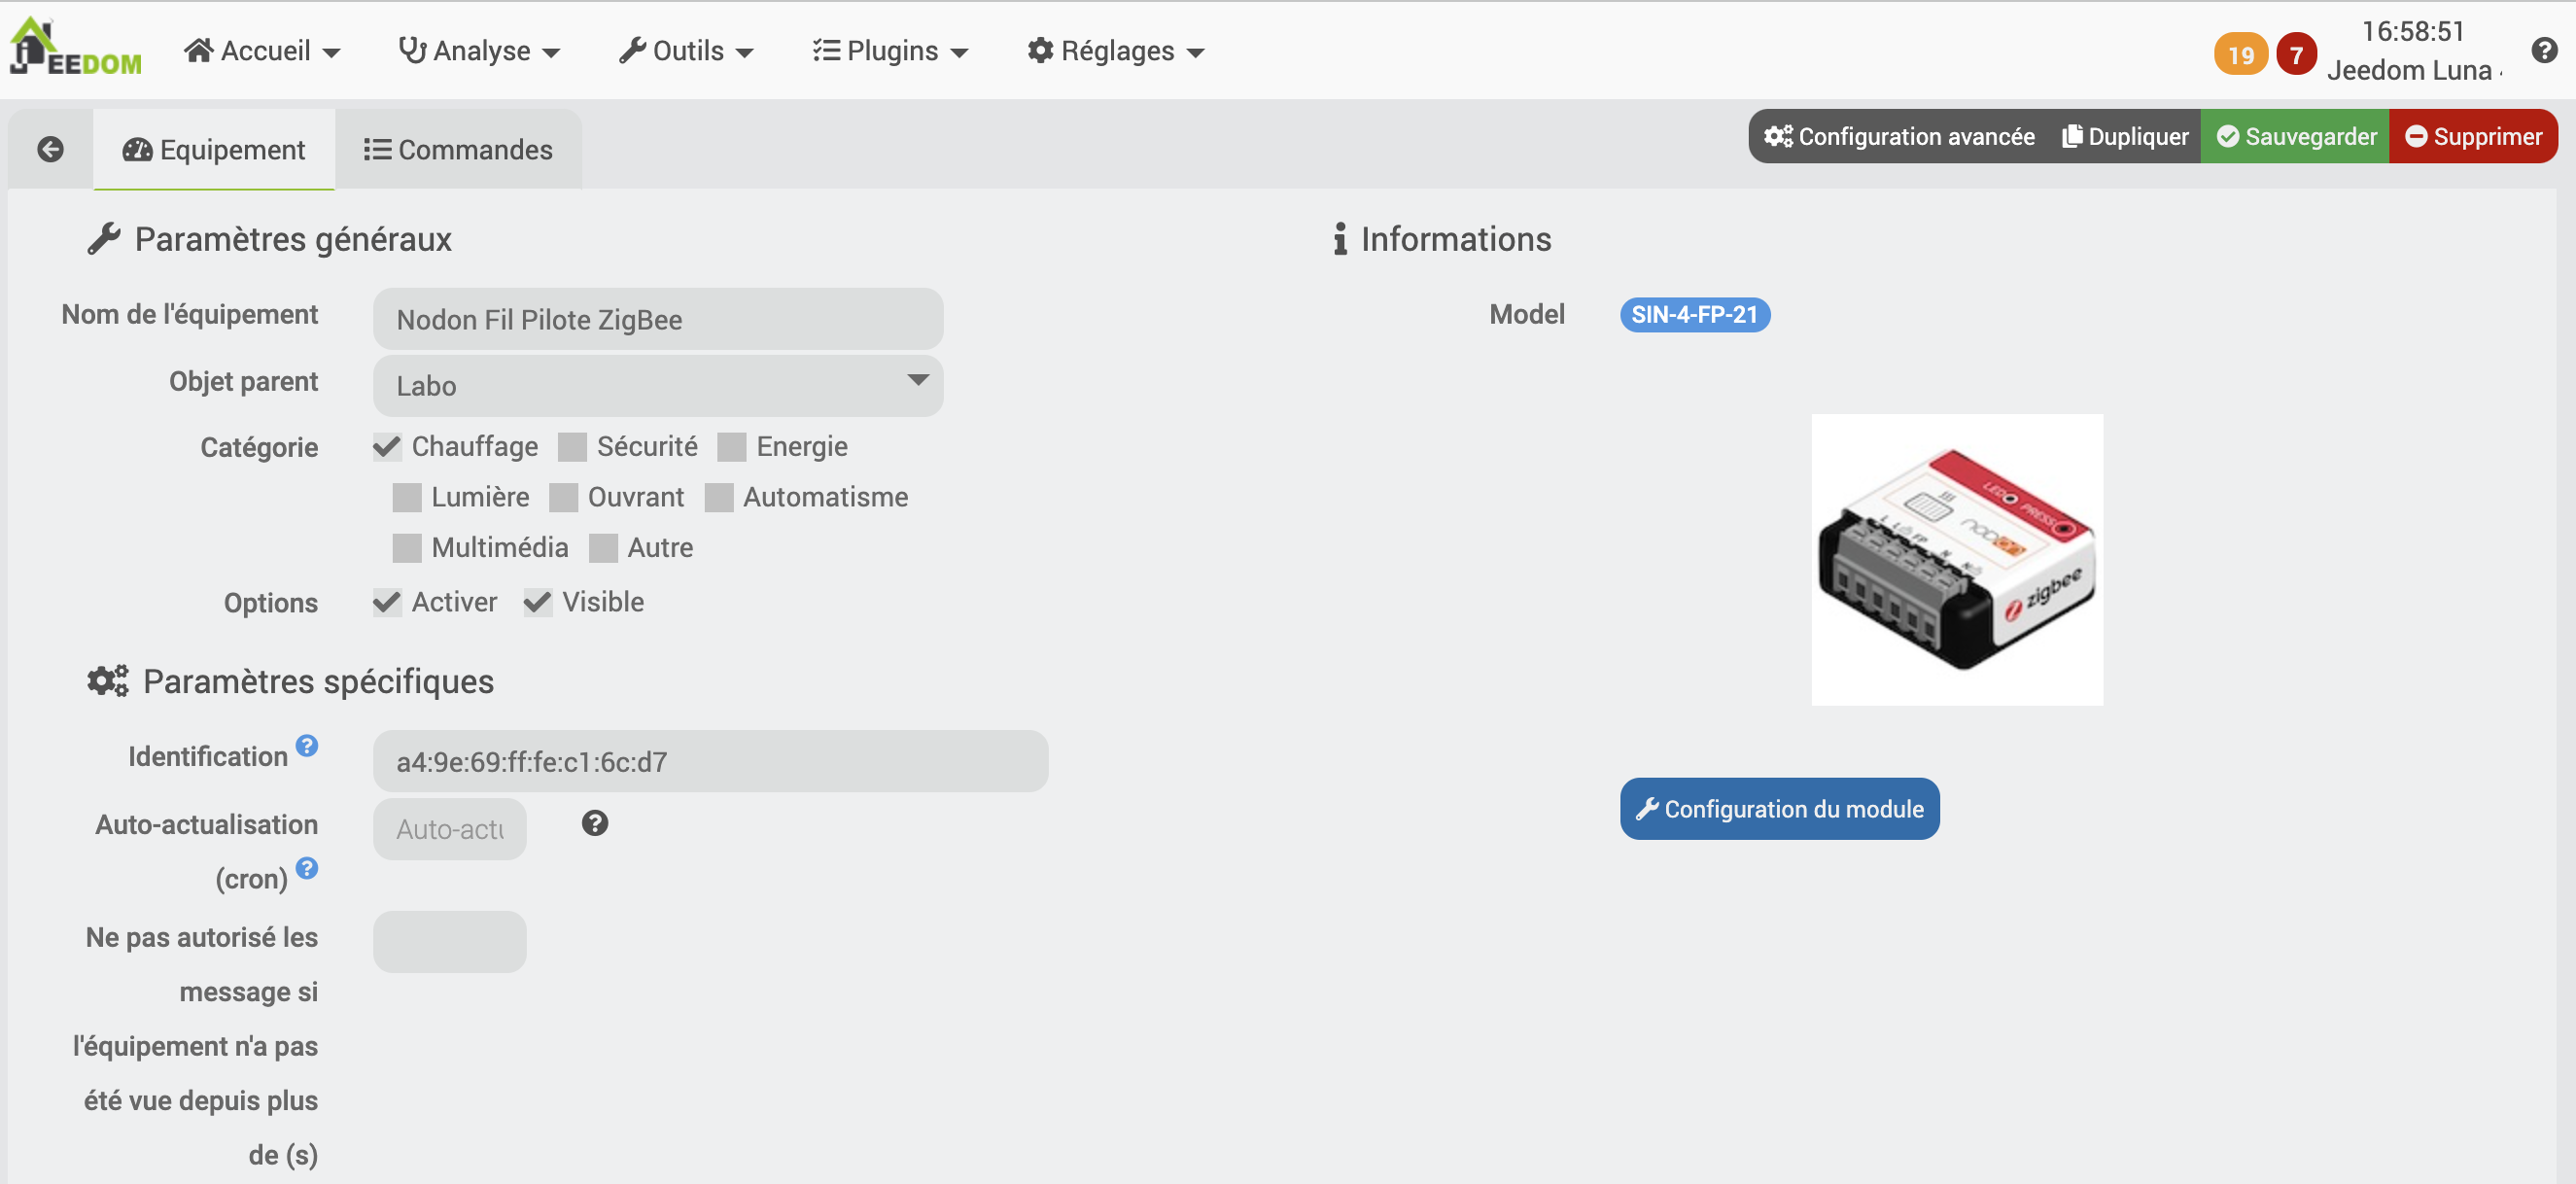
I tested the modules on the Jeedom Luna home automation box, which is natively compatible with ZigBee. Adding them is very simple: you put the box in inclusion mode, plug in the module, and it's automatically detected and recognized:
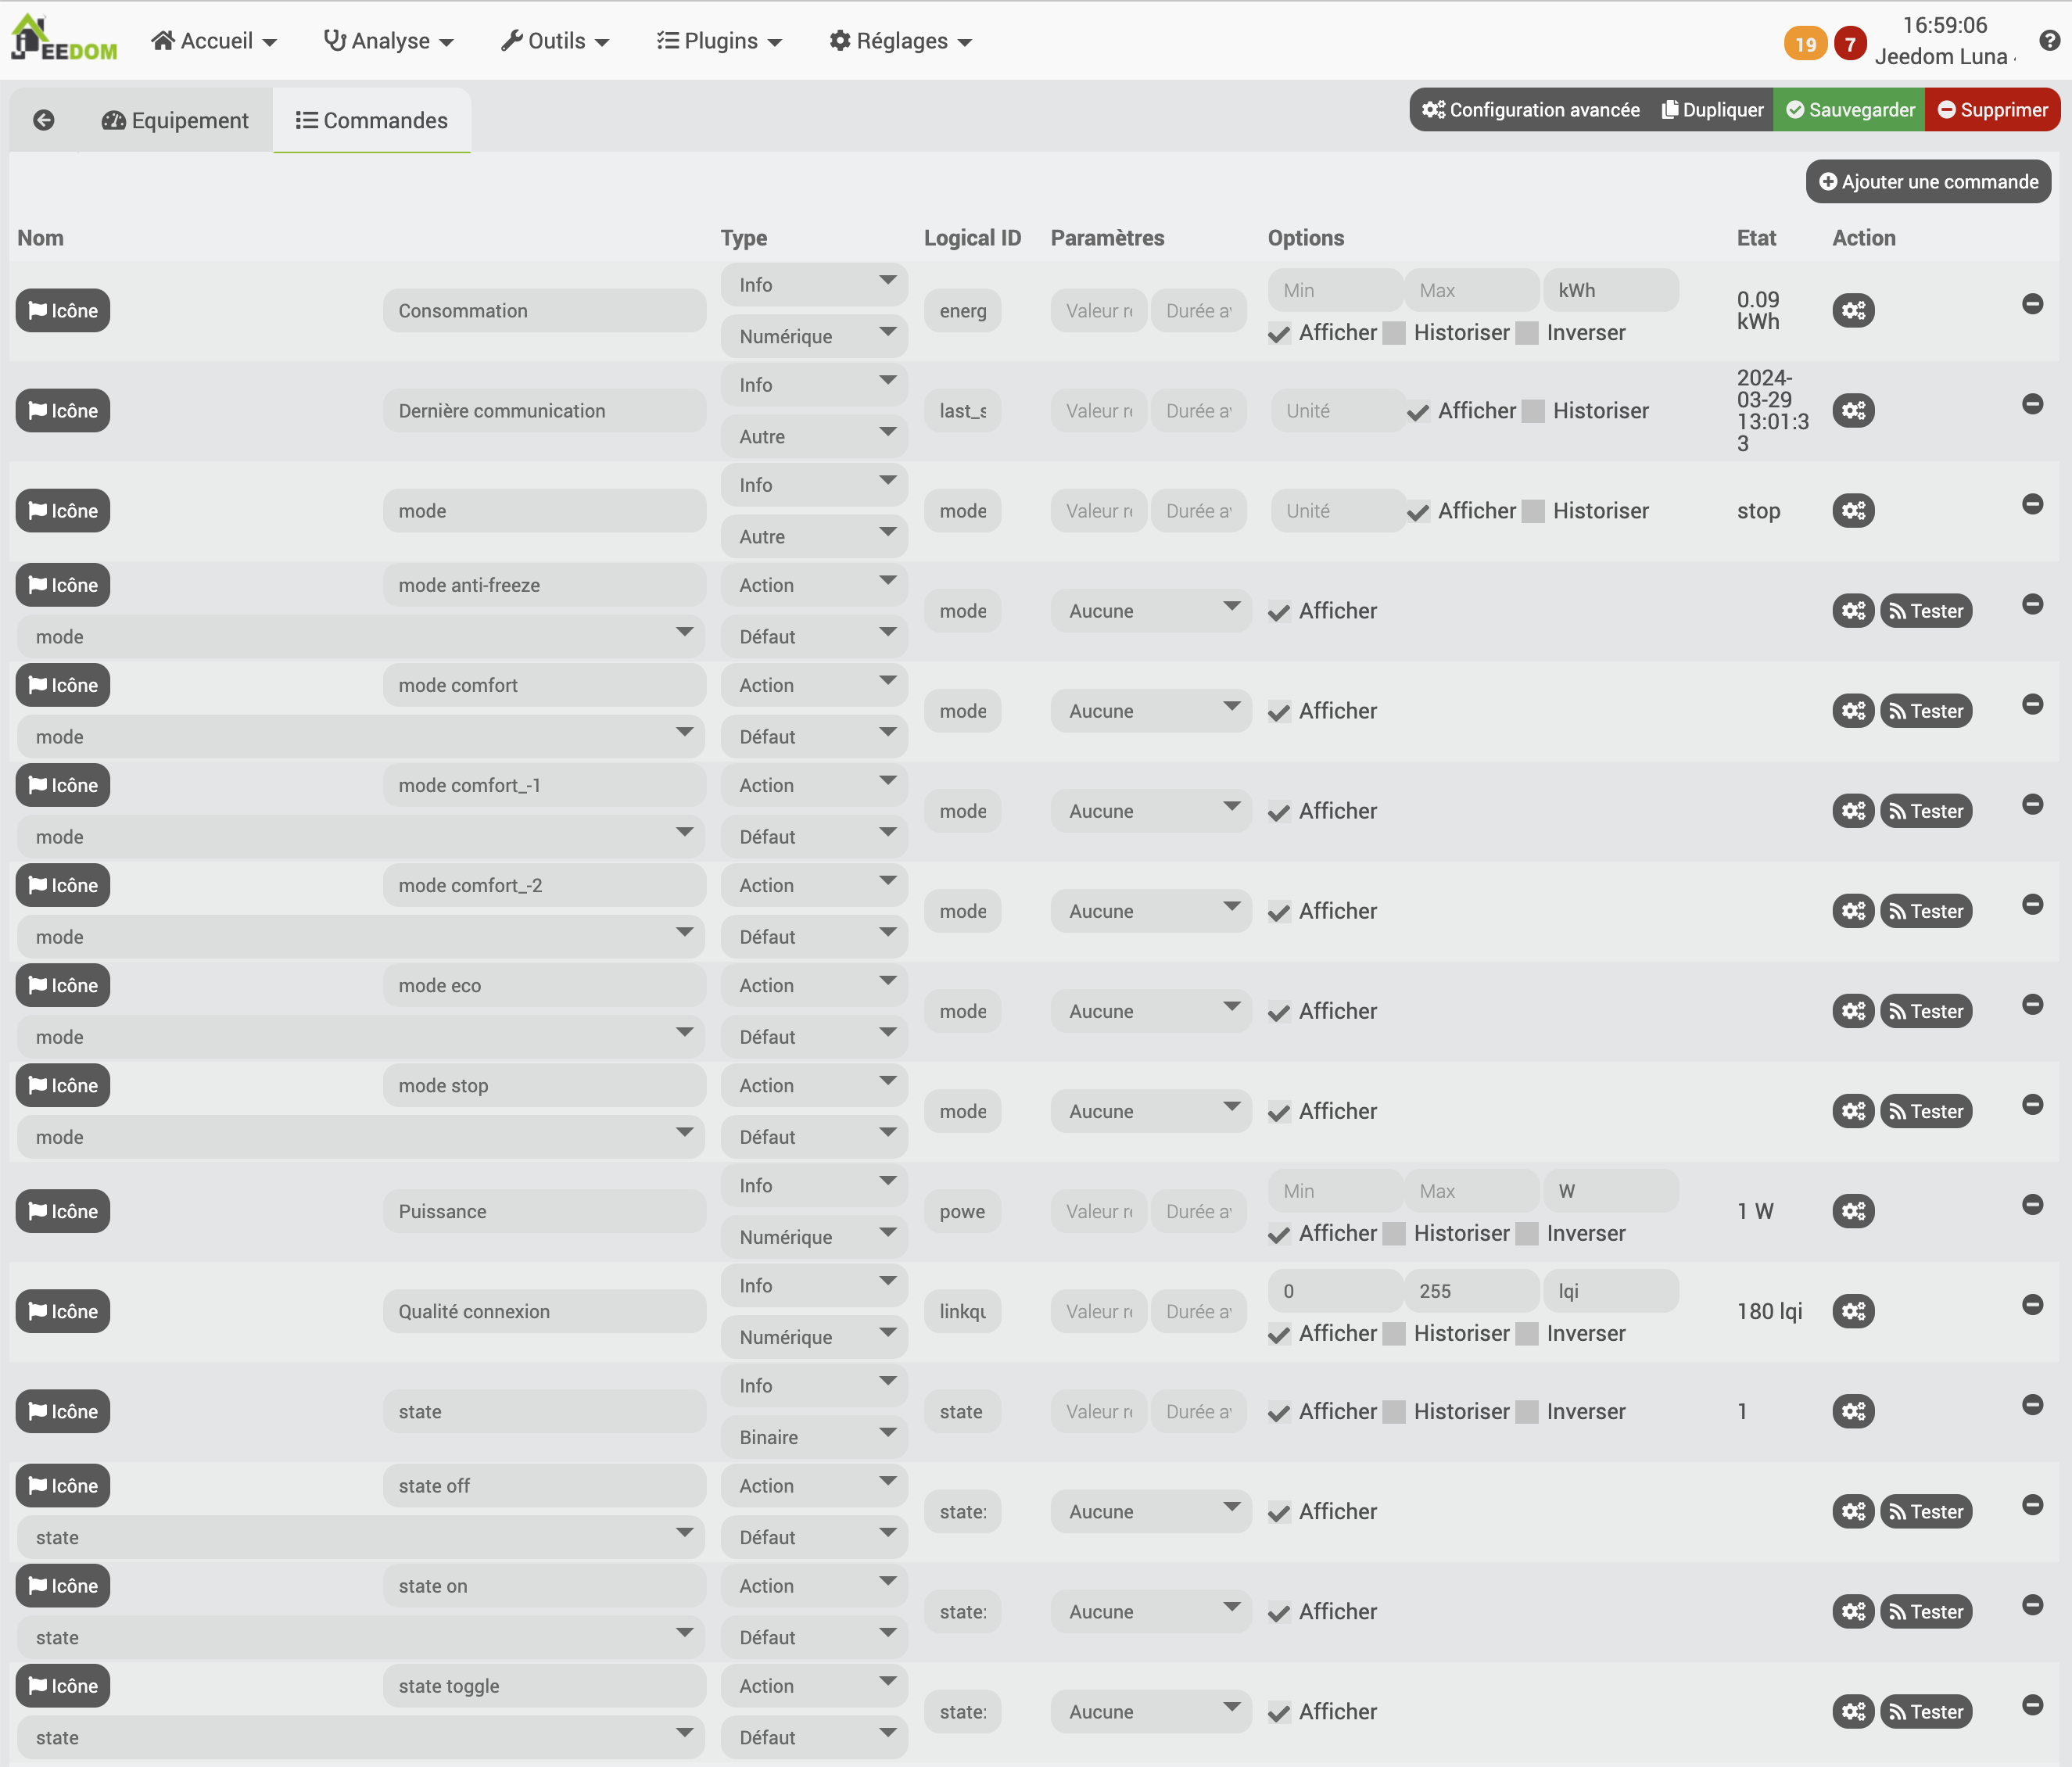
You give it a name, place it in a room, and activate it. All the commands are created automatically:
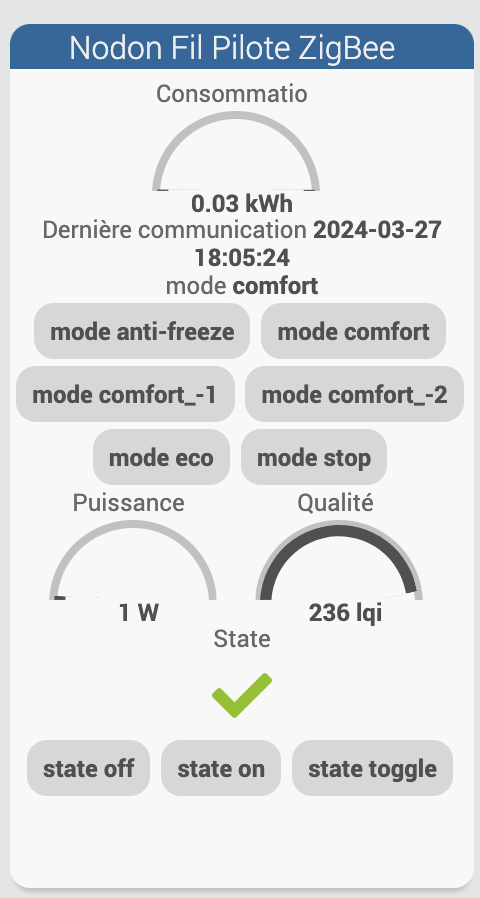
You can also find them on a widget: we have the 6 pilot wire commands, the current mode, the radiator consumption, the current power, and even the radio reception quality.
Of course, you can then customize the display as you wish and integrate it into scenarios, or even the thermostat plugin we discussed, to intelligently control your entire home. Installation in Home Assistant
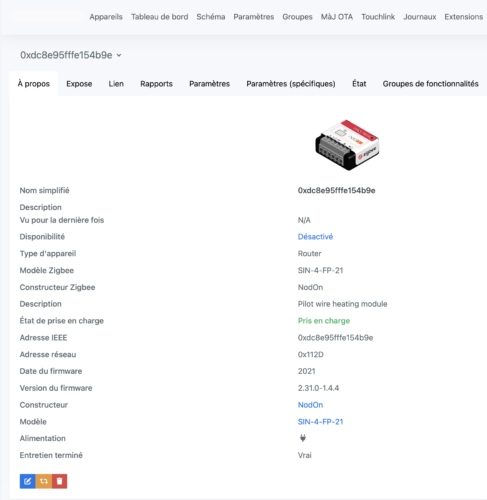
Installation in Home Assistant is just as simple. Here, I'm using ZigBee2MQTT, which is integrated into Home Assistant. We launch the pairing process, plug in the module, and it's detected and recognized after a few seconds:
As you can see, the SIN-4-FP-21 module is fully supported by ZigBee2MQTT:
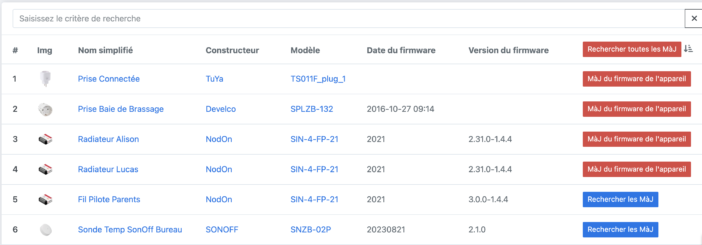
It's also possible to update the module directly via the interface:
ZigBee2MQTT automatically lists all possible updates for ZigBee devices: Nodon also offers a mobile app to update its modules via Bluetooth if preferred (it's also faster than via the ZigBee OTA update).An important detail: since this module is plugged into the mains, it also serves as a repeater within the ZigBee network. And since we generally have at least one radiator per room, this allows for perfect ZigBee coverage throughout the home. This is clearly visible in the mapping provided by ZigBee2MQTT, where each pilot wire module also relays information from several other modules:
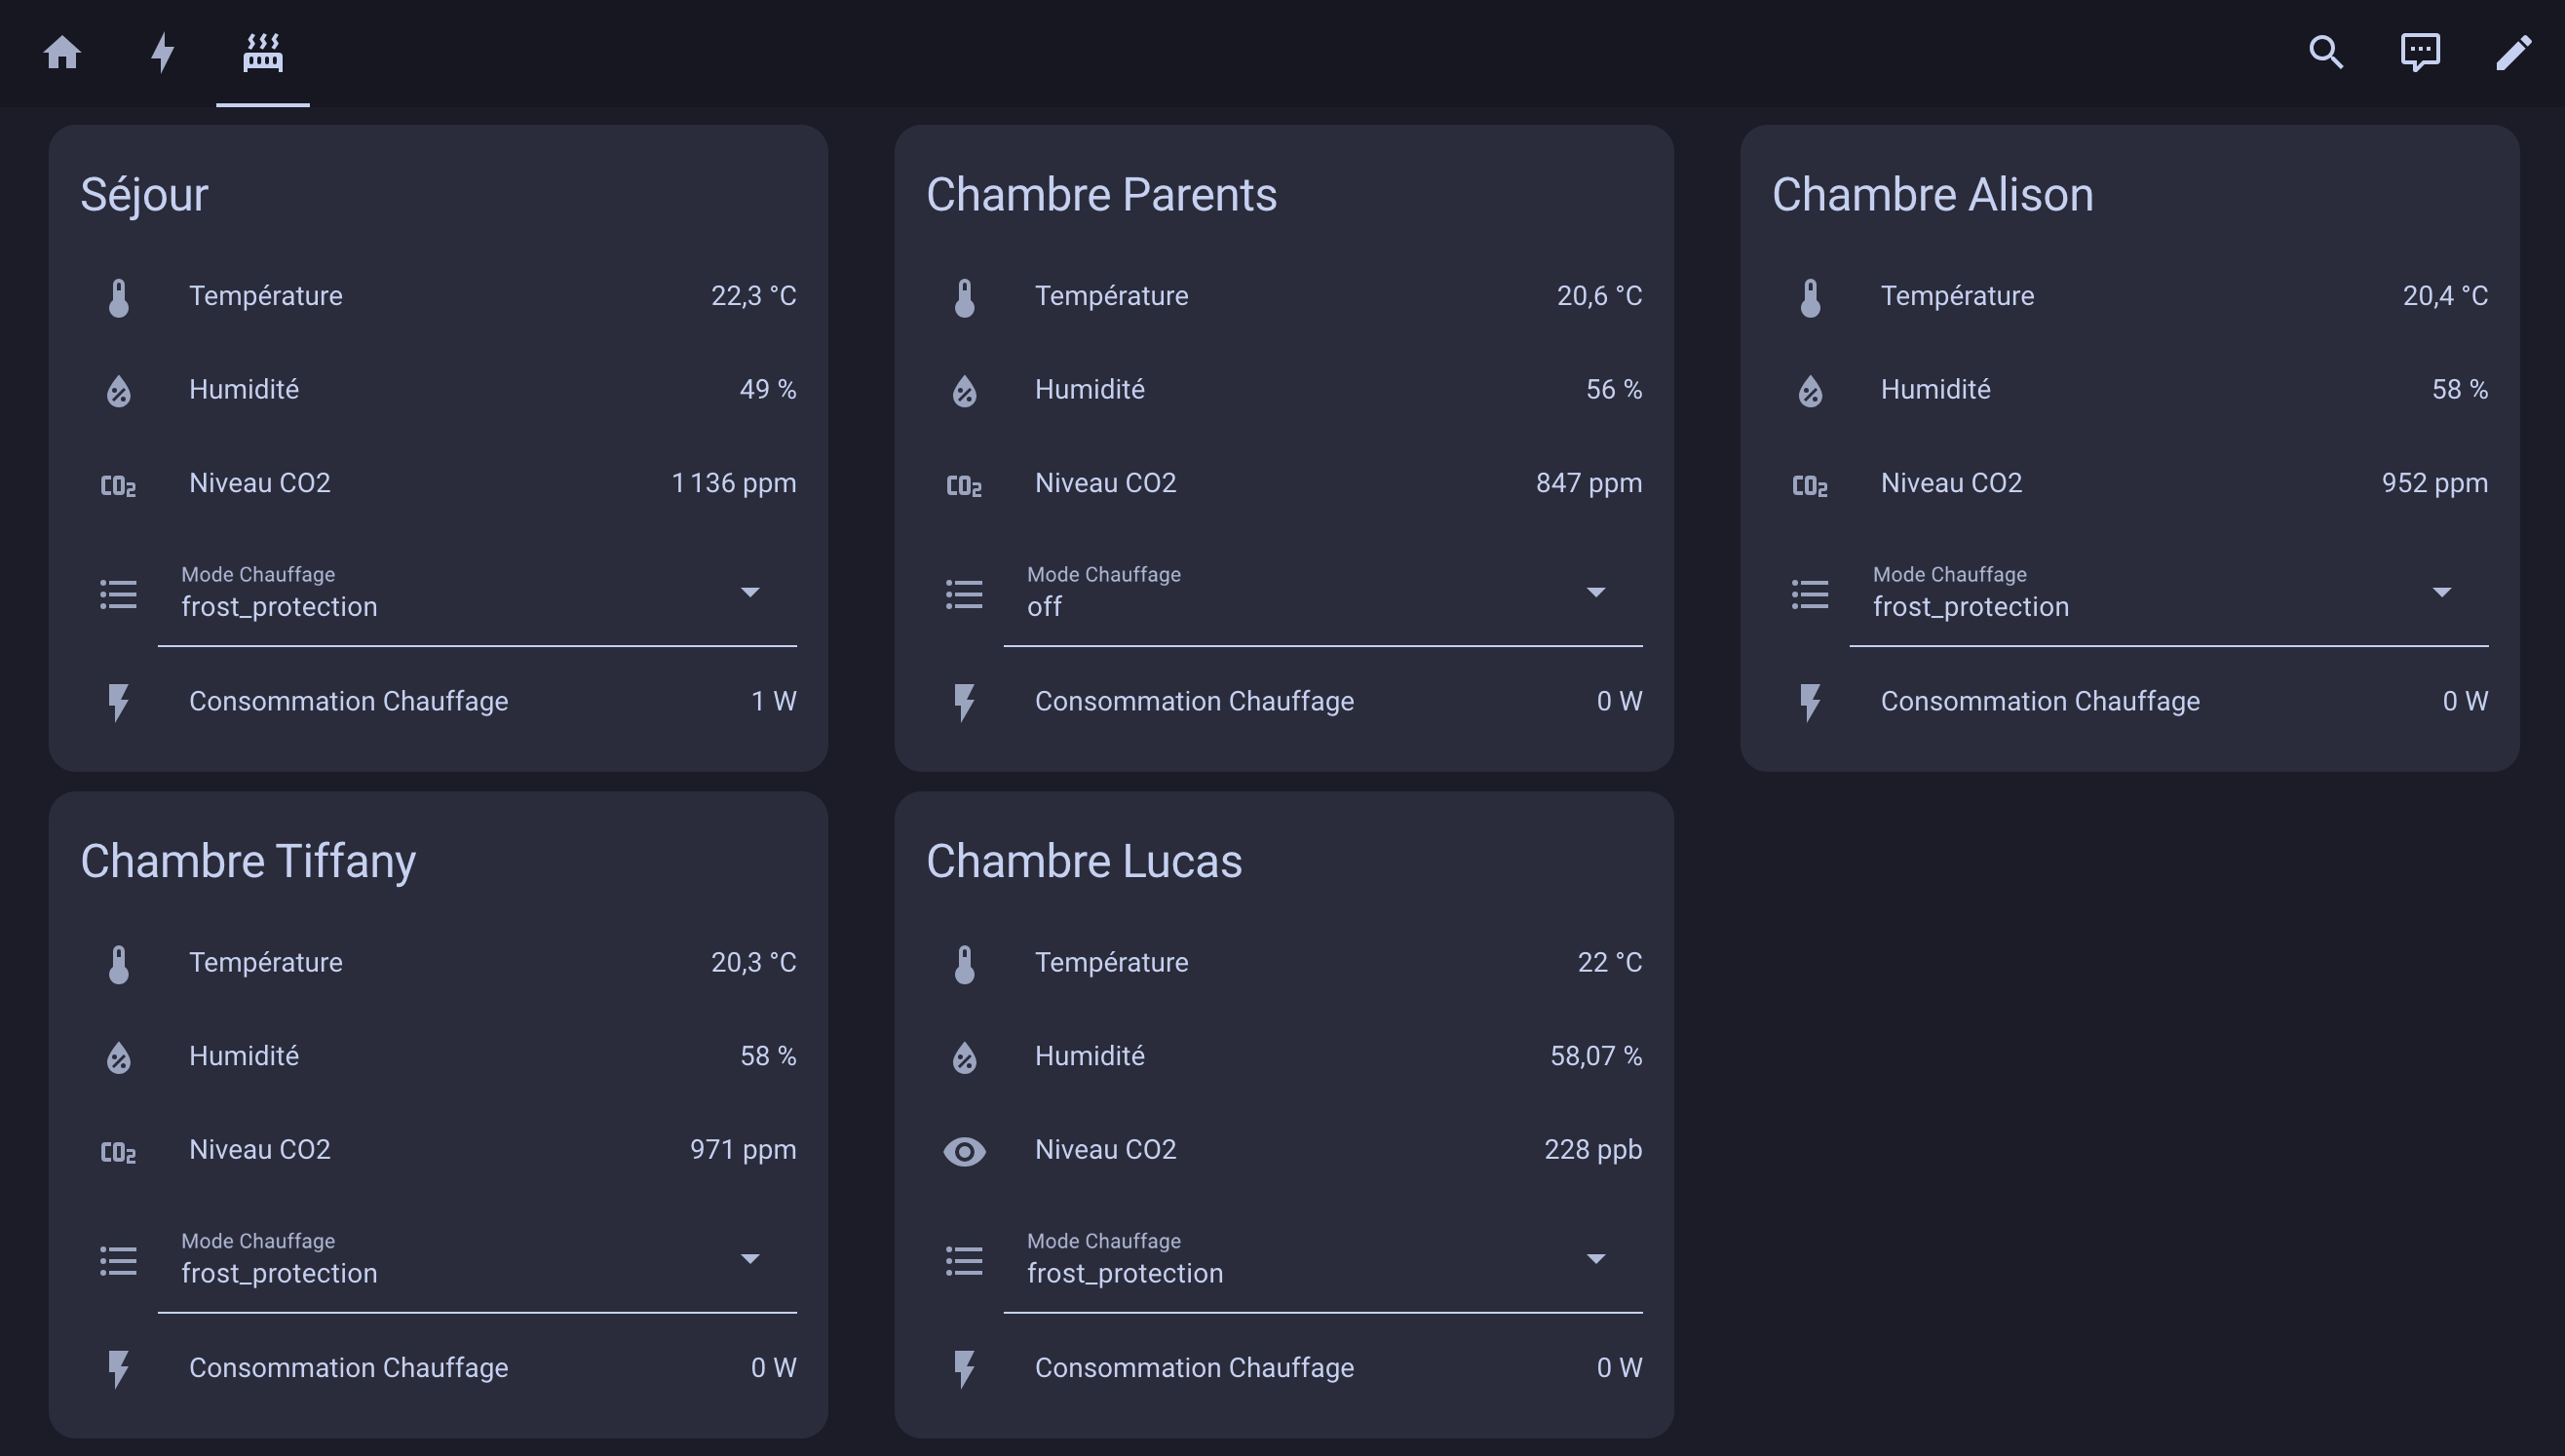
You can then create the desired presentation in Home Assistant. Here, I've created a fairly simple presentation for each room, displaying the temperature, humidity, and air quality using the Netatmo and Aqara modules. Just below, you'll find the drop-down list for choosing the order of the pilot wire to apply, as well as the instantaneous consumption of the radiator:
These commands can of course be integrated into scenarios to automate heating management, or even integrated into a thermostat plugin like the excellent Versatile Thermostat, for example, which will take into account the house's inertia, the presence of occupants, any open windows, etc.
This module is of course compatible with many other solutions; these are just two examples. Nodon provides a compatibility table to check before purchasing. Conclusion Nodon offers us a highly anticipated micro module! To my knowledge, there is no equivalent in ZigBee.
Qubino
had created a similar module a few years ago, but using the Z-Wave protocol. With ZigBee, a protocol that's becoming increasingly popular, there wasn't anything to easily control an electric radiator. So Nodon took on the task, and the result exceeded our expectations: we have a micro-module that's compact enough to easily fit into a flush-mounted box, easy to wire thanks to a terminal block that supports all the necessary connections, and which also allows you to monitor the electricity consumption of each radiator, a significant component of your household's energy consumption. In short, if you have electric radiators for heating, don't even think about it, especially since at €39.99, this module is offered at a very reasonable price!





Please remain courteous: a hello and a thank you cost nothing! We're here to exchange ideas in a constructive way. Trolls will be deleted.