Do you dream of bringing your most ambitious creative projects to life? The Cricut Maker 3 could well be your new best friend! This little technological marvel, successor to the popular original Maker, is the most versatile and powerful cutting machine ever designed by the American brand.
Imagine being able to cut, engrave and mark over 300 different materials with surgical precision, all from the comfort of your desk. That's exactly what this machine offers, targeting both creative enthusiasts and small businesses looking for a professional tool.
The big news? A cutting speed up to twice as fast as its predecessor and compatibility with “Smart Materials”, intelligent materials that no longer require a cutting mat. (A considerable time-saver for large-scale projects, believe me!)
Having tested a number of laser cutters, I was very curious to try out this machine of a different kind, which now boasts a gigantic community.
Unpacking the Cricut Maker 3
Be warned: the Cricut Maker 3 is an impressive piece of equipment, and its packaging sets the tone: Versatile, Powerful, Revolutionary. Nothing less!
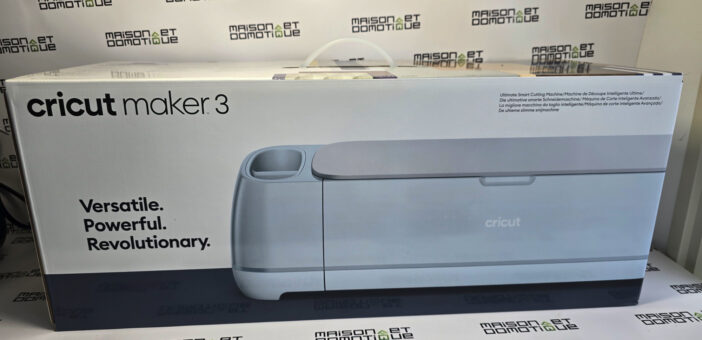
When you first unpack the Cricut Maker 3, you're immediately struck by its professional appearance and meticulous design.
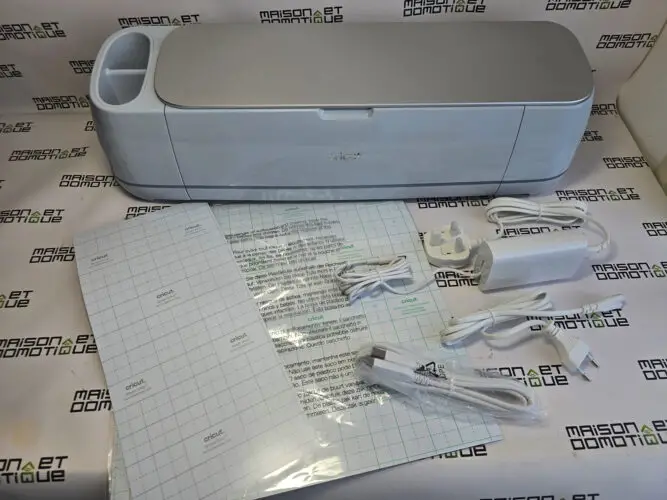
The machine arrives in well-thought-out packaging that contains all the essentials to get you started: the machine itself, a Premium fine-tip blade with base, USB cable, AC adapter and even test material to get you started.
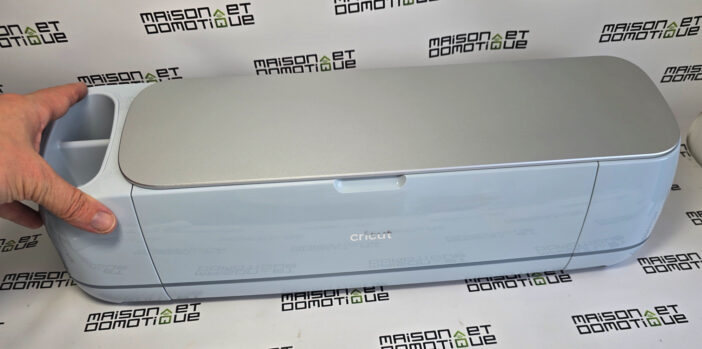
This new version retains the elegant lines of its predecessor, but with some notable ergonomic improvements.
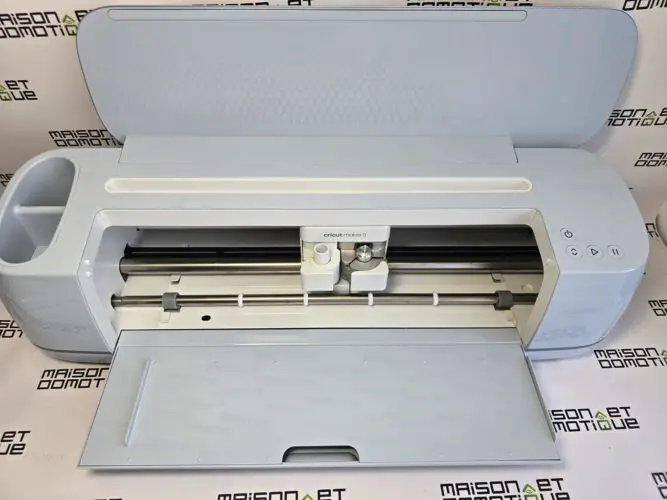
Its sturdy casing cleverly integrates a docking station and a storage space for your tools, very practical for keeping everything neat and tidy.
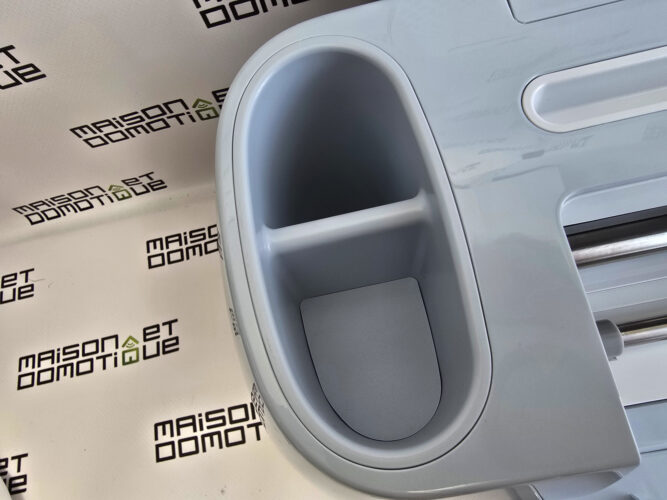
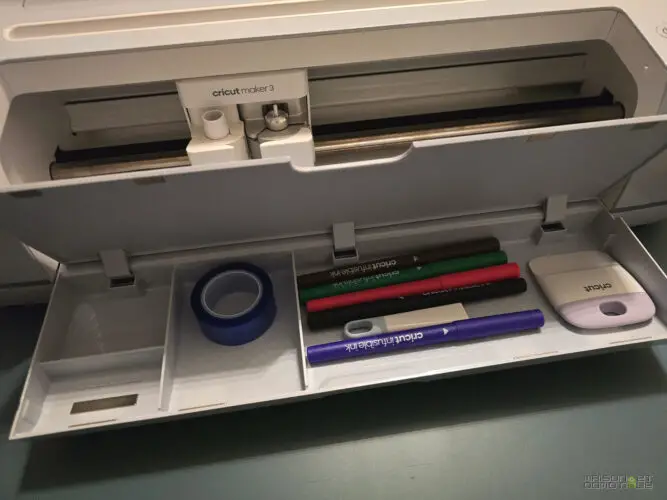
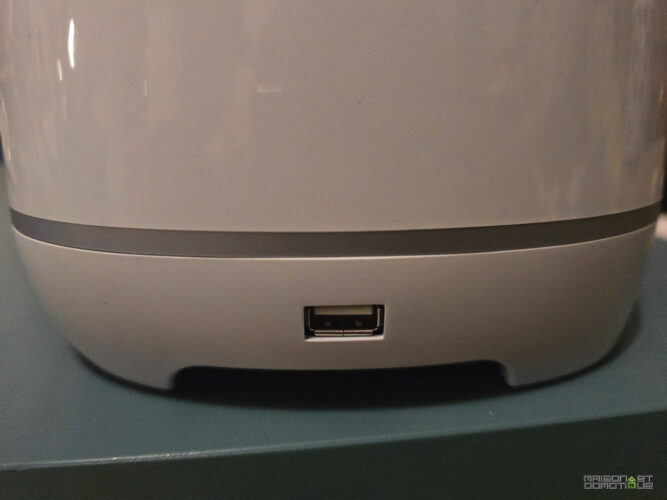
There's also a USB port on the side, useful for recharging your devices during long creative sessions.
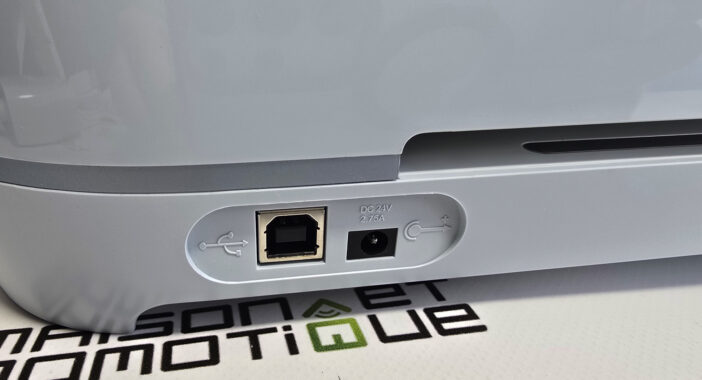
Connectivity is not to be outdone: integrated Bluetooth technology enables wireless use from your computer or mobile device. (A real plus when you consider that cables tend to accumulate on our desks!)
In terms of performance, the figures are breathtaking: 10 times the cutting force of the Explore range, and twice the speed of the original Maker. This power makes it possible to tackle even the toughest materials, up to 2.4 mm thick in some cases.
The big revolution comes from the machine's compatibility with Smart Materials, the new-generation materials that enable cuts up to 3.6 meters long to be made without a cutting mat. For creative people working on large projects, this is a real game-changer! And for those who think even bigger, the machine is even compatible with a roll loader that can accommodate coils up to 22.8 meters long!
But the real strength of this machine lies in its versatility: it can accommodate up to 13 different tools.
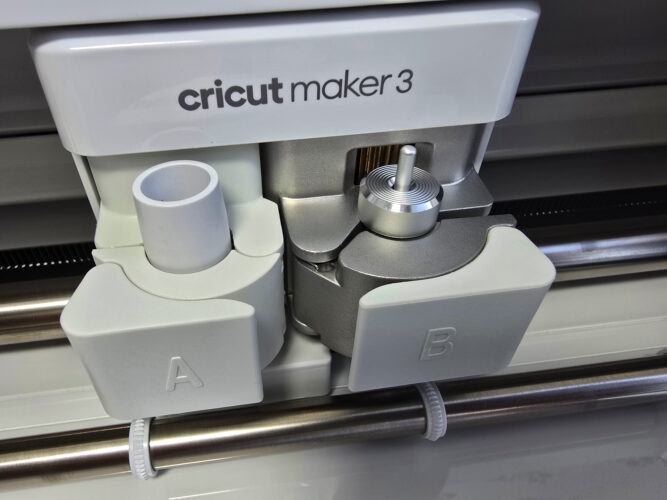
Whether you're cutting, engraving, creasing, debossing or even using aluminum foil for decorative effects, there's a tool for every need. It's like having a complete DIY toolbox in one machine!
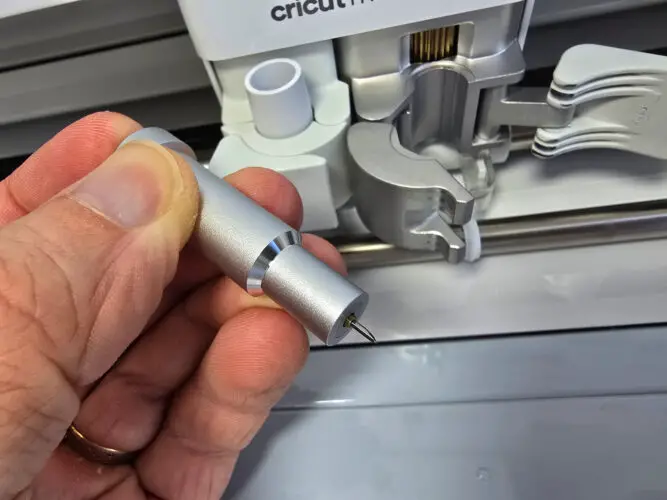
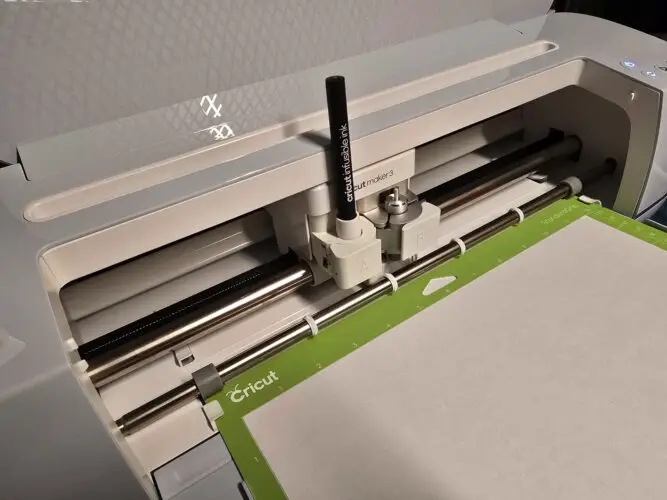
In slot A, you can place a felt-tip pen for drawing, for example, while slot B accommodates various tools, such as the fine-cutting tip supplied with the machine:
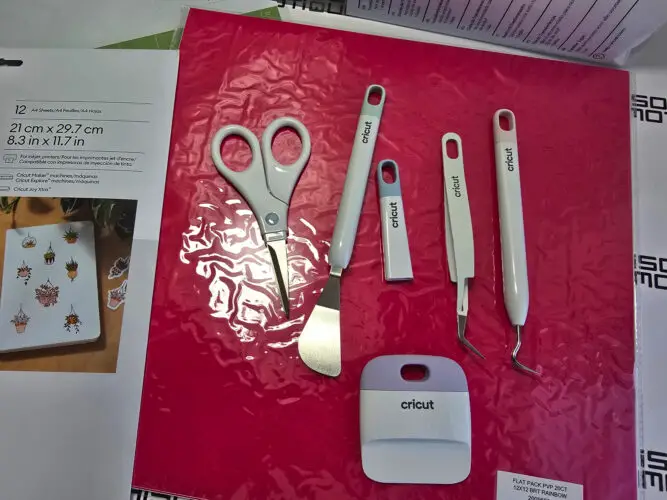
For my tests, I also received a number of accessories and supports to help me discover the machine's various possibilities.
Setting up and getting to grips with the Cricut Maker 3
Ah, installation! Often the dreaded moment of any new technological purchase. Especially since DIY enthusiasts aren't always computer enthusiasts :) But with the Cricut Maker 3, don't panic: it's child's play. Once the machine has been unpacked and positioned on your work surface (allow for a footprint of around 40 x 28 cm, with a little extra space at the front and rear for materials), all you have to do is plug it in and follow a few simple steps.
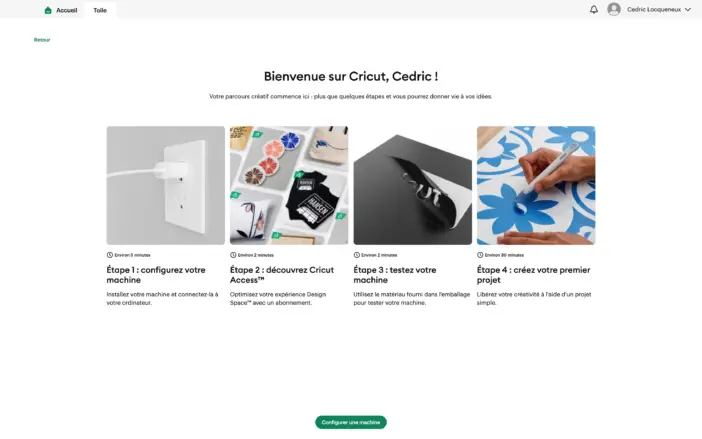
The first crucial step is to install the Design Space software, the machine's real brain. Available on computers (Windows and Mac) as well as tablets and smartphones (iOS and Android), it installs in just a few clicks. The software then guides you through the initial configuration of your machine via a series of particularly well-thought-out interactive tutorials, including activation of your new machine. Without prior activation, Cricut machines refuse to work.

Once connected (via Bluetooth or USB, whichever you prefer), Design Space offers you a test project to familiarize you with the basics. It's a bit like having a private tutor take you by the hand! What's more, the software's interface is in French, making it easy for French-speaking users to get the hang of things.
Particular attention has been paid to the machine's overall ergonomics. Material loading is intuitive, thanks to adjustable side guides.
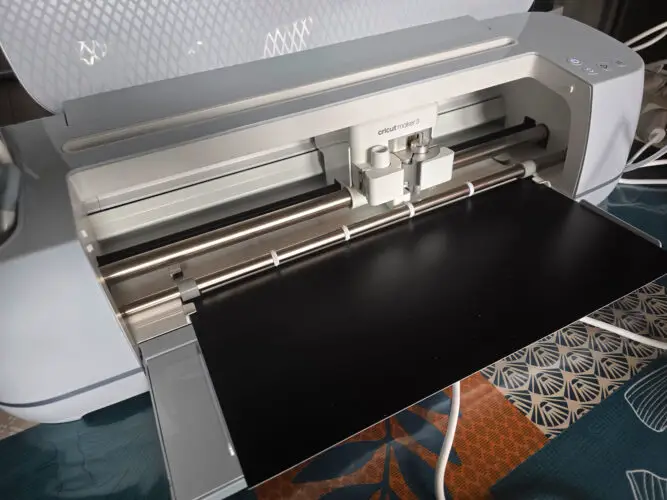
The machine also features several sensors to check the material inserted:
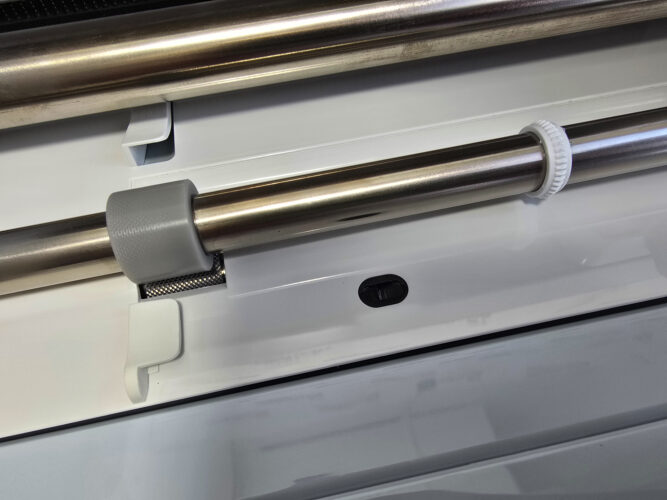
Changing tools is a breeze with the QuickSwap clamping system, which allows you to switch from one tool to another in a matter of seconds. A real pleasure when you're working on a variety of jobs!
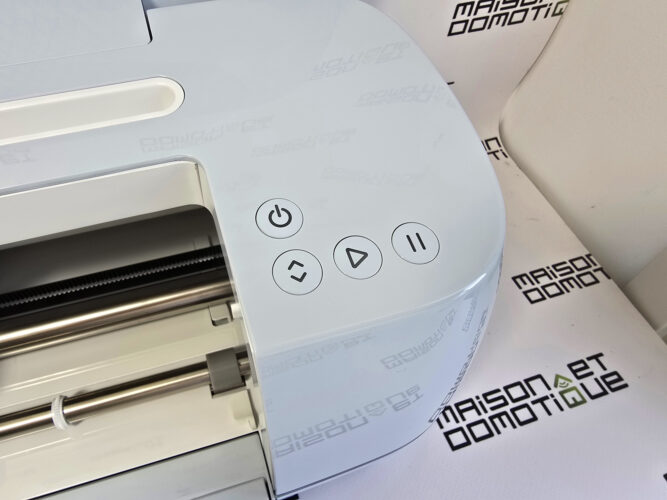
The control panel, located on top of the machine, features just a few essential buttons: on/off, load/unload material, and project start/pause. Everything else is controlled from Design Space, avoiding the multiplication of physical controls while retaining total control over operations.
The real magic happens when you start exploring the software's possibilities. Design Space offers an impressive library of ready-to-use templates (some free, some not), but also lets you create your own designs or import SVG files. It's a real goldmine for the most creative!
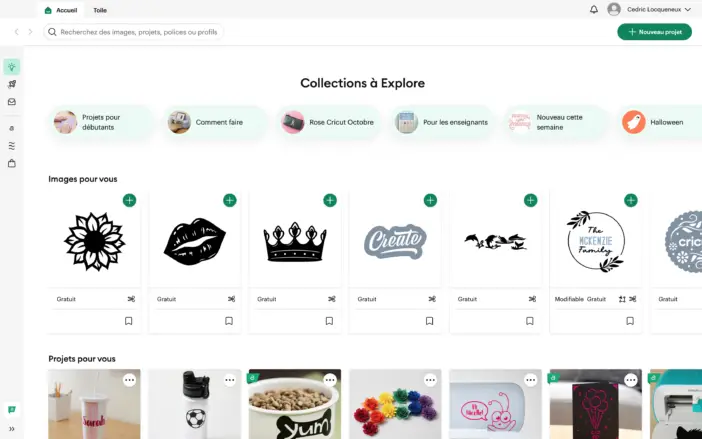
It's true that learning all the features takes a little time. But the learning curve is progressive and well thought-out. You start with simple projects, then gradually discover more advanced functionalities. It's a bit like learning to drive: first first first, then second, and before you know it, you've mastered the whole gearbox!
The first project on offer to test the machine is a simple one, involving the creation of a branded sticker:
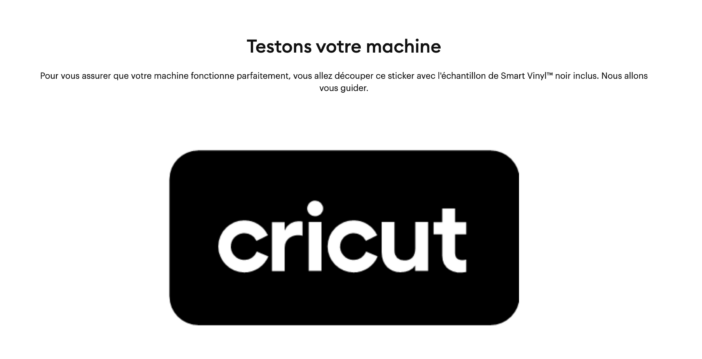
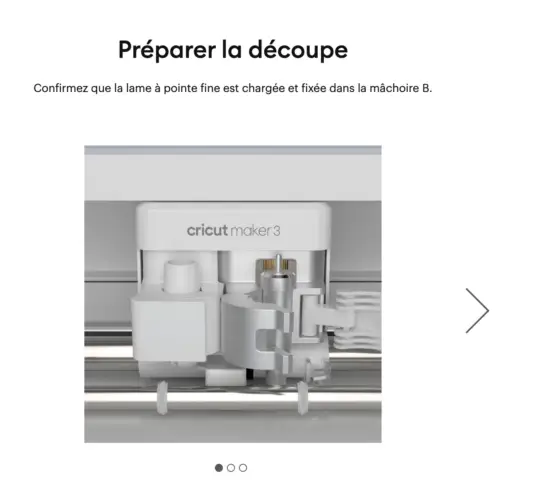
Just follow the instructions. Validate that the correct tool is inserted:
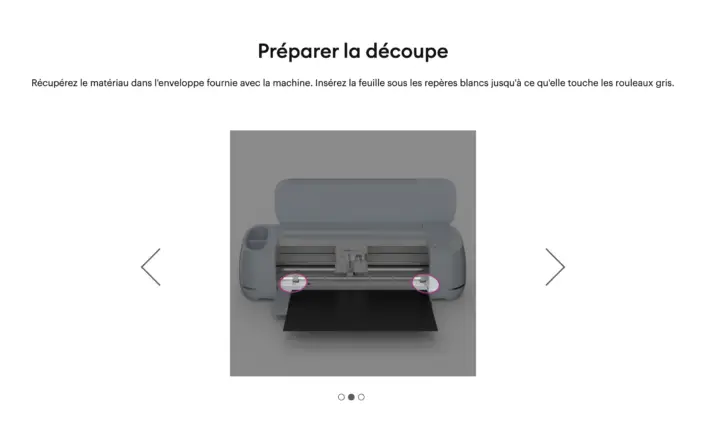
We insert the material, in this case a repositionable vinyl:
And in a few seconds our sticker is cut:
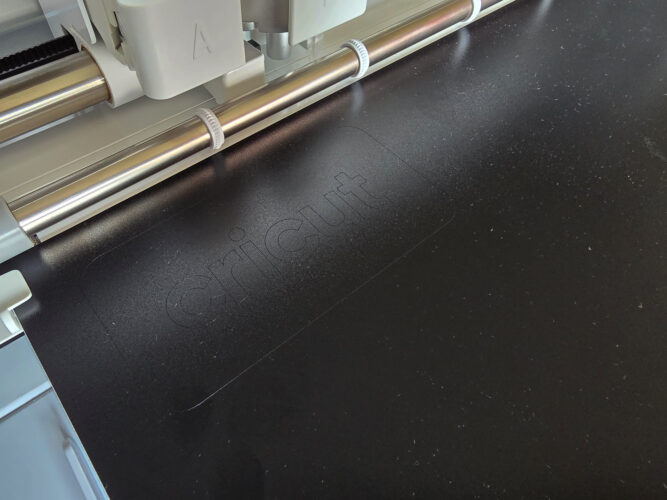
The magic happens when we start to remove the vinyl:
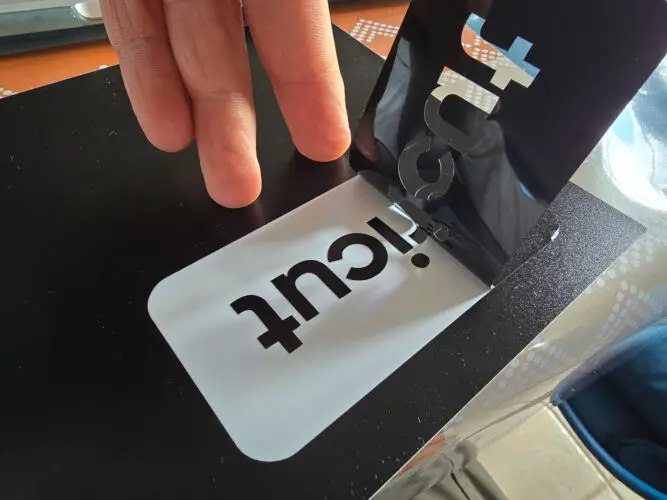
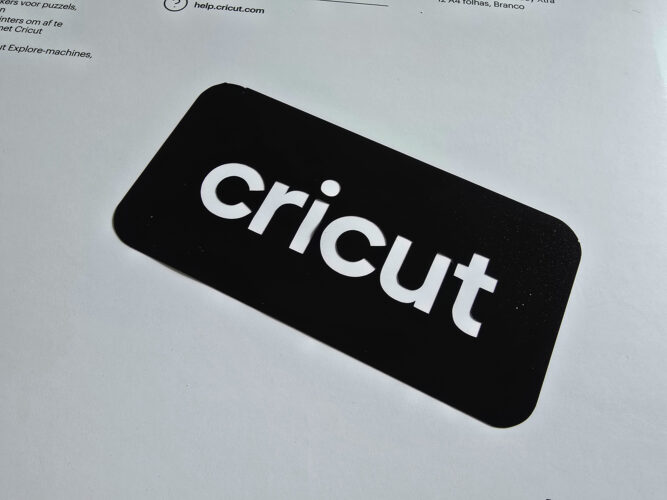
And here's our first sticker made on the Cricut Maker 3!
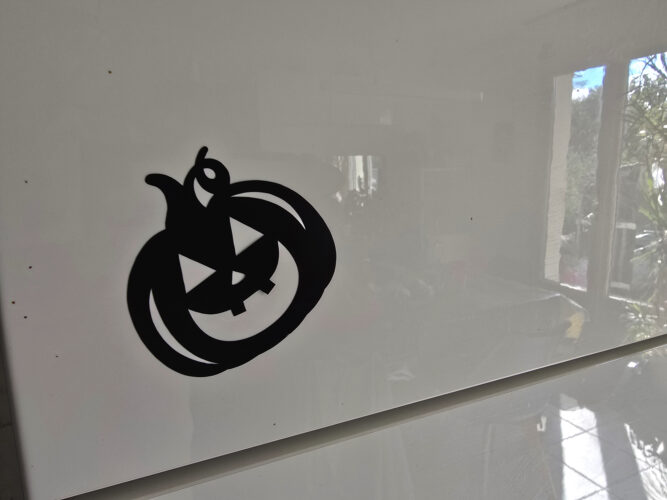
Once you've got the hang of it, you can quickly make lots of other stickers. An example made especially for Halloween:
Features and performance
The Cricut Maker 3 immediately impresses with its exceptional versatility. With its ability to work on over 300 different materials, it opens up an almost limitless field of possibilities for creative minds. From the most delicate paper to balsa wood, leather and fabrics, this machine never shies away from a challenge!
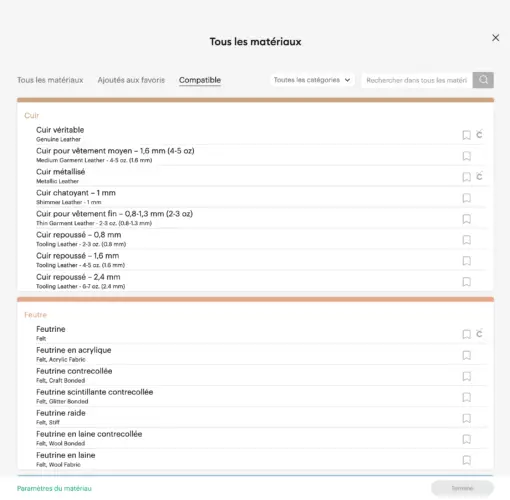
Its cutting force, 10 times greater than that of the Explore range, enables it to tackle even the toughest materials up to 2.4 mm thick. And what speed! Cutting speed is double that of the previous generation, saving precious time on large projects.
One of the major innovations is compatibility with Smart Materials. These new-generation materials enable cuts of up to 3.6 meters in length to be made without a cutting mat. For even more ambitious projects, an optional roll loader can even handle lengths of up to 22.8 meters.
The machine features 13 different tools that literally transform its capabilities. Here's what it can do:
- Cut with surgical precision
- Draw and write
- Marking and grooving
- Emboss and deboss
- Engrave various materials
- Create a variety of decorative effects
For sewing enthusiasts, the rotary blade (sold separately) can cut virtually any type of fabric with remarkable precision. Model-making enthusiasts will appreciate the knife blade for creating 3D projects.
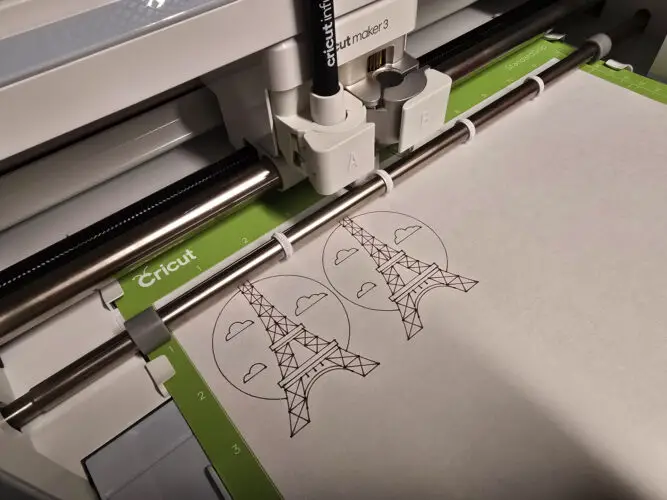
A particularly interesting feature is the “Print then Cut” function, which enables you to print patterns on your conventional printer and then cut them out with perfect precision using the Maker 3. A particularly useful feature for creating personalized stickers!
Feedback
After several weeks of intensive use of the Cricut Maker 3, I can confirm that it lives up to its promise. The machine has proved particularly reliable and precise in all the tasks I've entrusted to it, from the simplest to the most complex.
On a daily basis, it excels in the creation of a variety of projects. I've created personalized stickers, holiday greeting cards, paper wall decorations for the children's bedroom, and even complex stencils to personalize t-shirts. Cutting precision is simply amazing, even on the finest motifs.
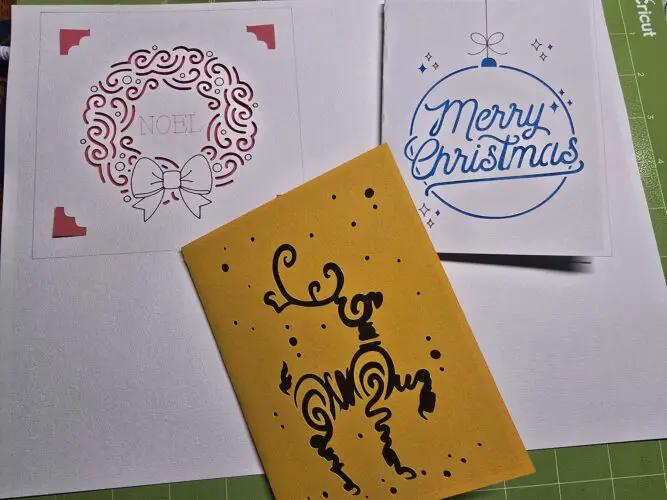
One project I was particularly enthusiastic about was the creation of holiday greeting cards, since that's what we're all about nowadays.
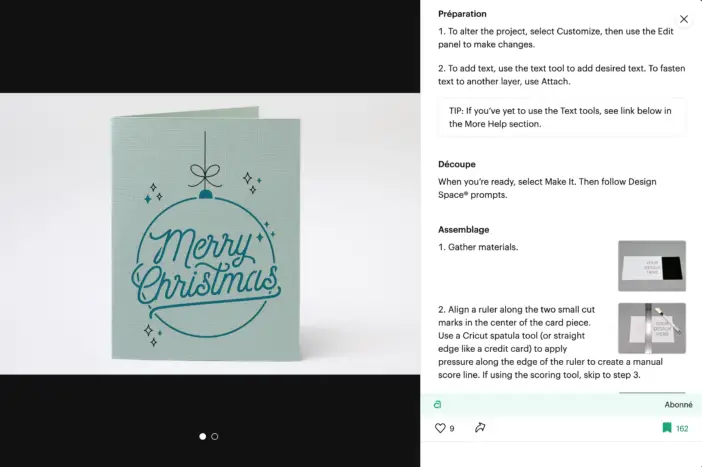
The machine handled the delicate die-cuts and designs perfectly, giving a result worthy of professional work.
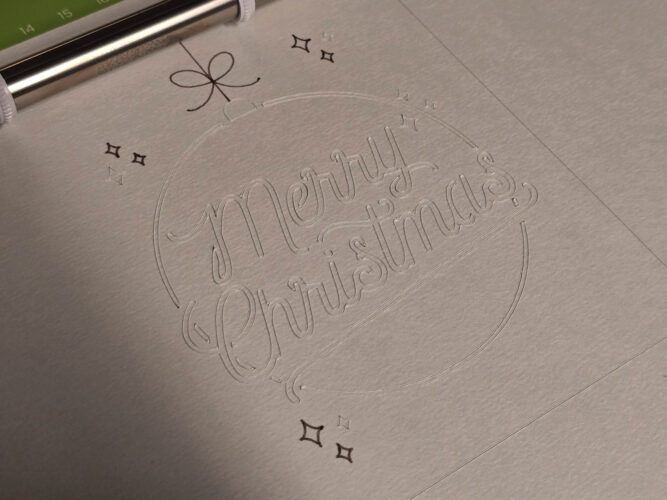
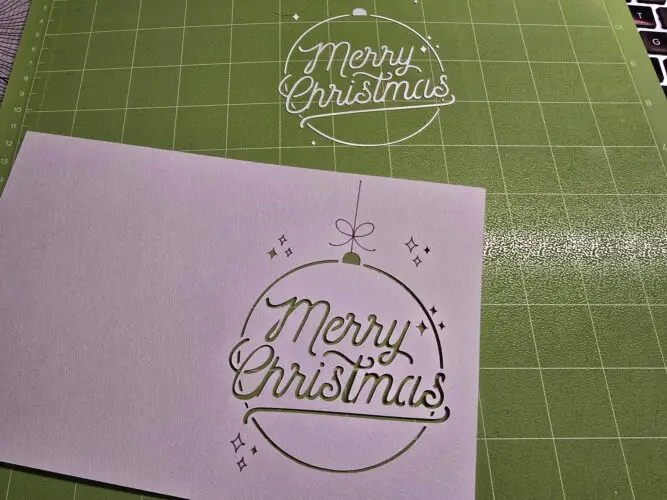
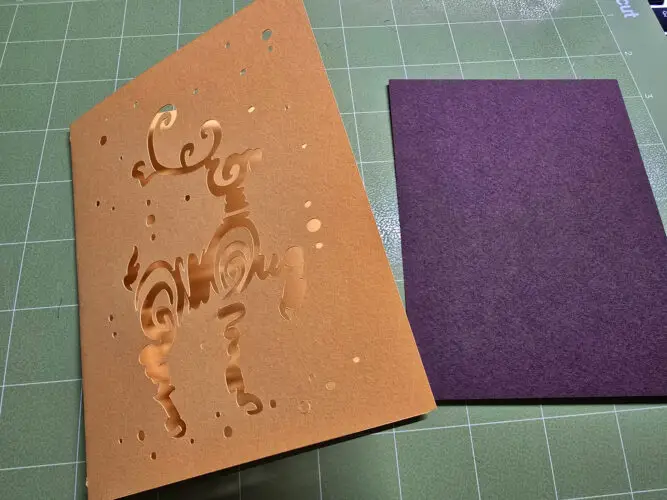
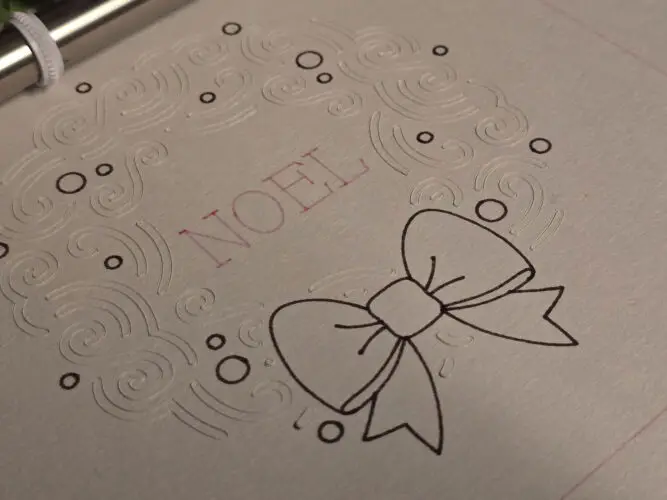
A real hit with recipients!
Compatibility with Smart Materials proved to be a real asset. I was able to produce stickers without having to handle a cutting mat. This saved me a considerable amount of time, while maintaining precision along the entire length.
Here, I'm making a permanent vinyl sticker for my son's go-karting bottle:
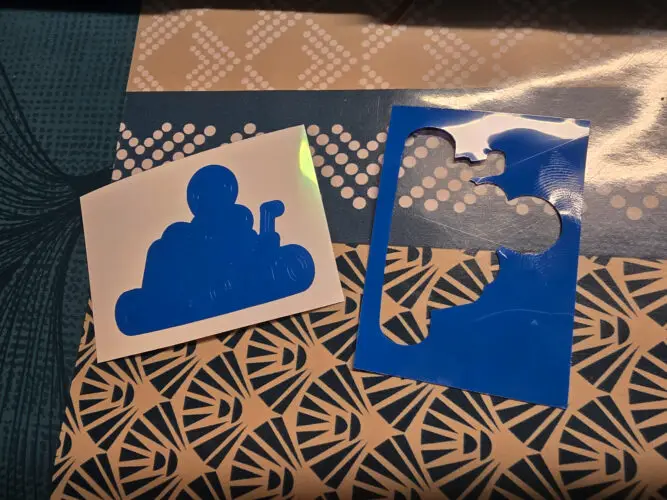
Cutting with the Cricut Maker 3 is the easy part. Then all the little details have to be cut out:
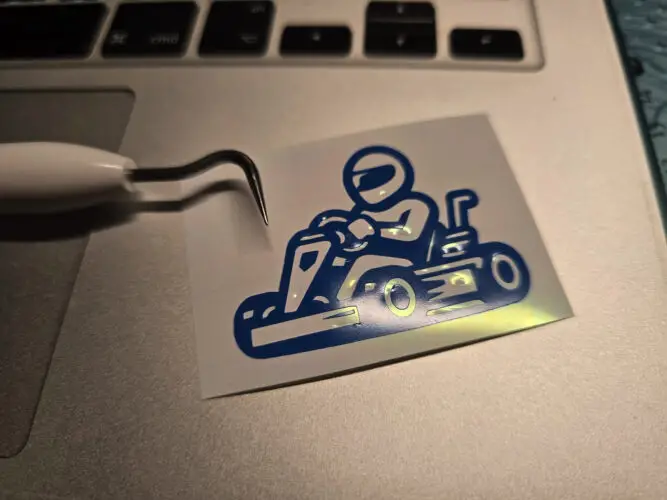
Then apply it to a transfer film to leave everything properly in place:
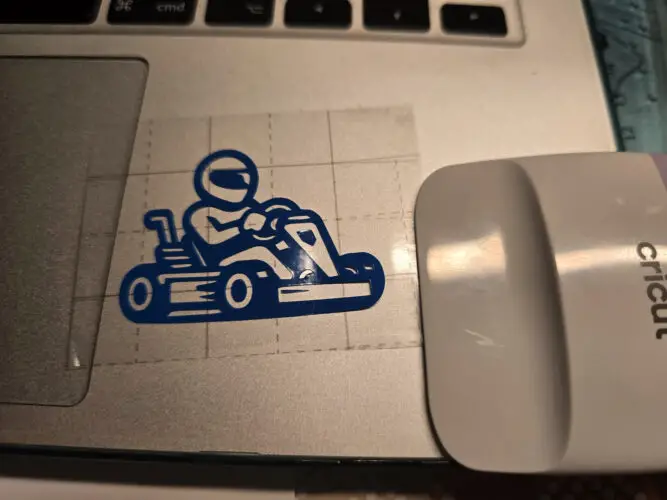
All that's left is to apply it to the desired surface, in this case a glass gourd:
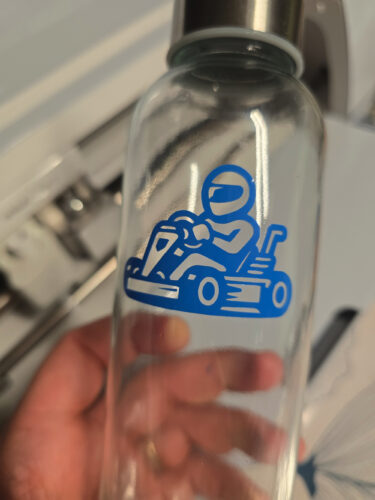
A permanent vinyl that's long-lasting, even dishwasher-safe.
Highlights that stand out from the crowd :
- Impressive speed of execution
- The relative silence of the machine in operation. I worked on it mostly in the evening, and didn't disturb anyone ;-)
- Impeccable quality of cuts
- Versatility of materials used
- Design Space's intuitive interface
A few areas for improvement:
- The price of official Cricut consumables remains high. But many other materials can be used, thanks in particular to the adhesive cutting mats that hold the supports in place.
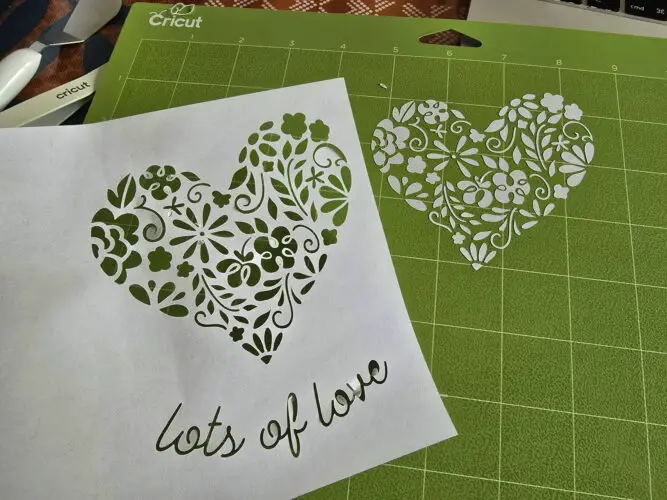
- Design Space requires a permanent Internet connection
- Some specialized tools are sold separately, requiring an additional budget
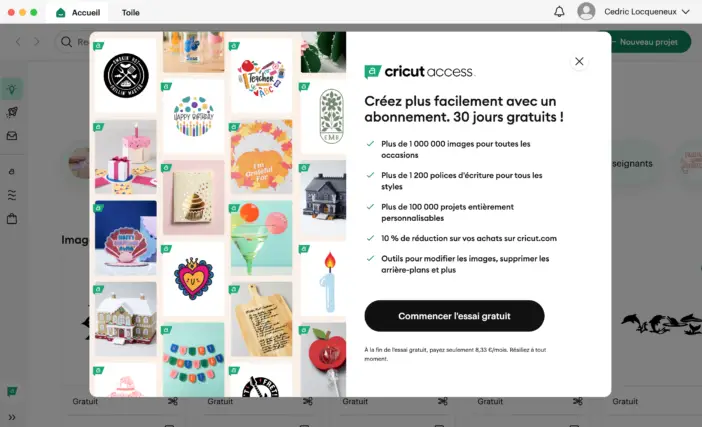
- The Cricut Access subscription, although optional, is heavily promoted everywhere.
But the price/performance ratio needs to be qualified. While the initial investment of €479 (retail price, but easily found at €399) may seem substantial, it needs to be put into perspective with the possibilities offered. For regular or semi-professional use, the machine quickly pays for itself. For example, I created personalized wedding invitations for a friend, a project that would have cost three times as much with a traditional printer.
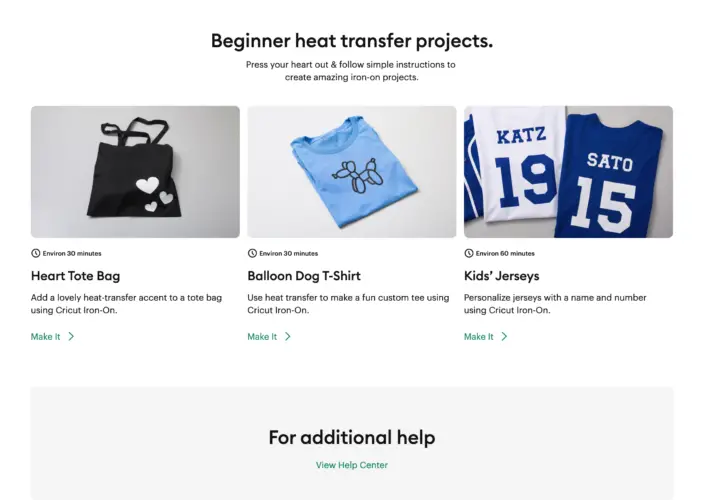
The machine also shines in the creation of everyday objects: labels for kitchen jars, personalized stickers for children's notebooks, or decorations to customize furniture. The advantage of Design Space's software is that it offers a huge number of ready-to-use templates, which can be customized as required. Projects suggested by the company, but also by thousands of users around the world. You'll find everything from personalized t-shirts to 3D sculptures and nail stickers (yes, yes!).
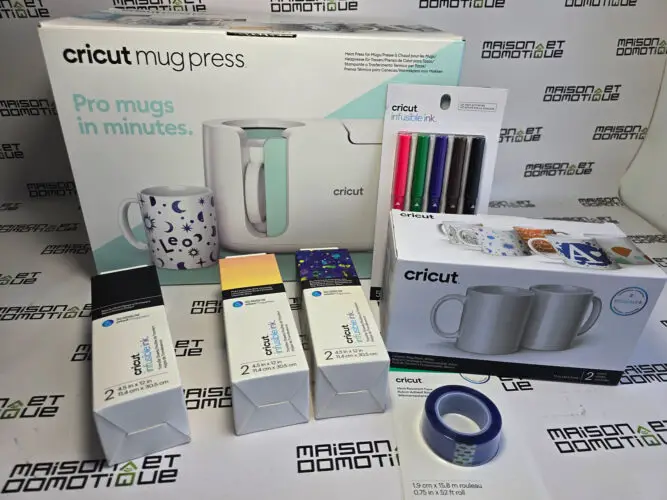
Of course, even if the Cricut Maker 3 is capable of doing an awful lot, it's limited to drawing and cutting (and engraving on certain materials). Other machines from the same manufacturer can also be used for heat transfers, whether on t-shirts, caps or even mugs. I was particularly interested in this last option, and was able to test it out with the Cricut Mug Press kit, which includes the Mug Press, blank Mugs and transfer rollers.
Of course, the process starts with the Cricut Maker 3, which takes care of the cutting. Here I've simply created a message in black, which I wrote myself in the application. You configure your text and/or motif, then the material to be used:
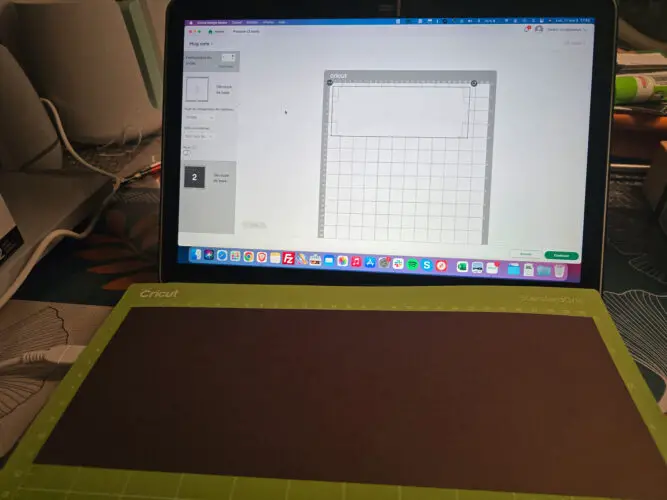
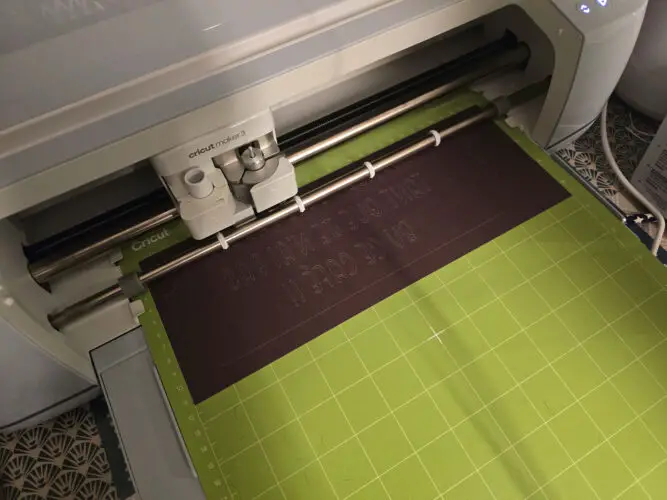
If you're transferring onto a mug, be sure to check the “mirror” option so that the text is cut upside down. But the software automatically suggests this, depending on the material used, to avoid any unpleasant surprises. We let Cricut Maker 3 do the cutting:
The trickiest part is to peel off everything, leaving only the letters of the message:
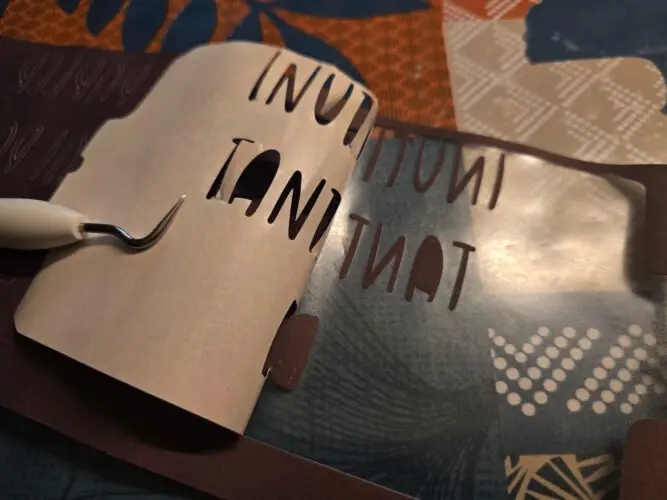
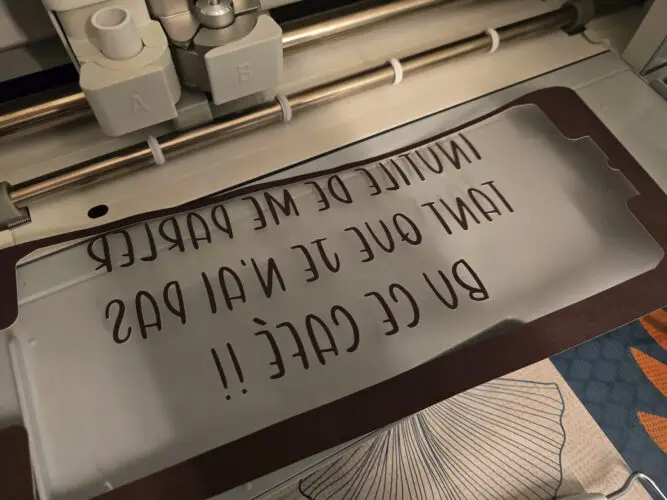
All that remains is to apply it to the Mug, and place it in the press:
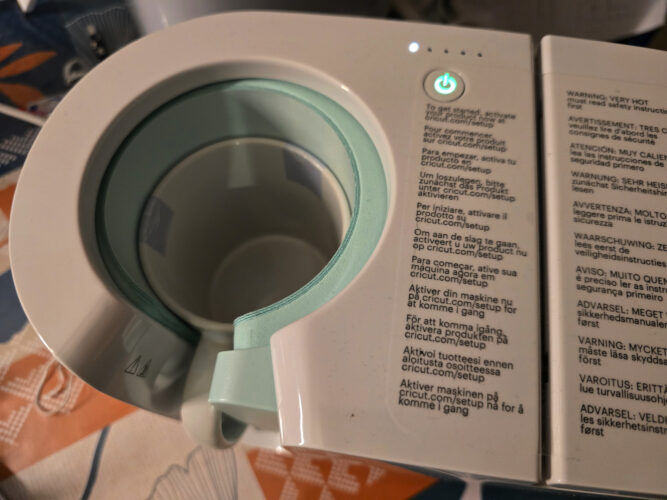
The press has just one start button, and operates autonomously (it needs to be connected to the PC only once for initial activation).
Be careful, it's very hot! Just leave the Mug on for as long as you need it (the machine indicates this via indicator lights), then leave it to cool down quietly. The result is impeccable:


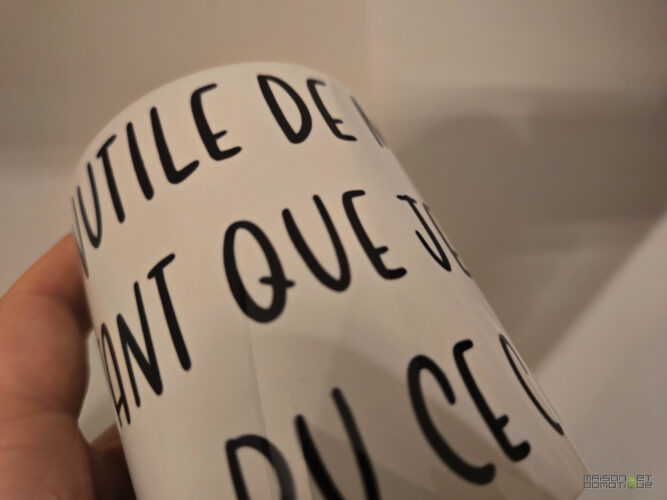
I was quite blown away by the quality: the transfer is perfect, with no excess thickness, as if the text had been printed on the mug. It's shiny, very professional, and resistant, since the process allows it to be put through the dishwasher many times without any problem.
In short, I love it, and I'll soon have to buy a few more blank mugs to personalize lots of them, whether with motifs the kids love, or humorous messages like this one ;-)
Conclusion
After several weeks of intensive use, the Cricut Maker 3 has established itself as a real revolution in the world of creative DIY. This machine isn't just a simple cutting tool, it's an open door to a world of almost infinite creative possibilities.
Who is it for? First and foremost, of course, hobby enthusiasts who want to take their creations to the next level. Designers who sell their creations on craft marketplaces will also find something to their liking, as will small businesses looking to internalize certain production processes. My wife, for example, loves it for helping her cut all her fabric creations, which saves her an enormous amount of time. Even DIY enthusiasts like me will quickly discover its potential for personalizing their interiors or creating unique gifts.
Its price of €479 (but easily found at €399) may seem high at first, but it should be seen as an investment. The machine's build quality, cutting precision and versatility more than justify this price tag. And when you consider the price of professional custom die-cutting, the machine can pay for itself in just a few large-scale projects.
Admittedly, there are cheaper alternatives on the market, such as the Silhouette Cameo 4 or even the Cricut Explore 3, but none offer such a combination of power, precision and versatility. The Cricut Maker 3 stands out in particular for its ability to work on thick materials and its compatibility with a wide range of tools.
In short, the Cricut Maker 3 is to creation what the smartphone is to communication: a tool that revolutionizes the way we bring our ideas to life. It pushes back the boundaries of what's possible at home, turning the wildest creative dreams into concrete projects. And isn't that the ultimate goal of any creative tool?
(A word of friendly advice: if you take the plunge, make sure you have plenty of storage space… Once you start creating with the Maker 3, it's hard to stop!)



Please remain courteous: a hello and a thank you cost nothing! We're here to exchange ideas in a constructive way. Trolls will be deleted.