Did you know that your Sunology or Beem Energy solar station transmits radio information? This information can be processed by a small OpenDTU box, capable of sending comprehensive data for each individual panel to Jeedom, Home Assistant, etc. using the MQTT protocol! Power, efficiency, daily production, temperature, etc. I explain it all here!
What is OpenDTU?
Hoymiles microinverters broadcast their production information by radio frequency, in 2.4Ghz. The manufacturer also offers a DTU gateway capable of reading this information and which, connected to the Internet, sends it to the Cloud to be made available to the user.
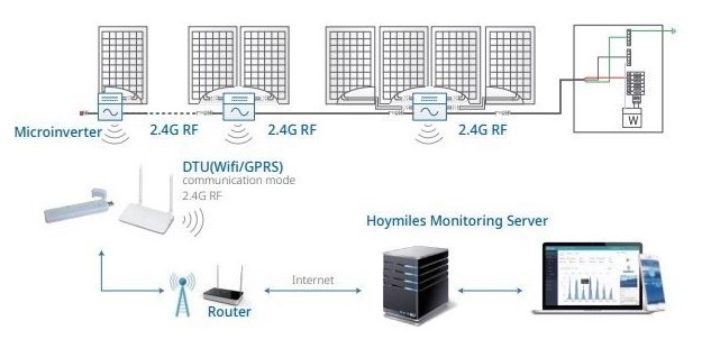
While this system is very practical, it has two drawbacks: cost and dependence on the Cloud.
After carrying out a complete reverse engineering to decrypt this information, a group of developers came up with the OpenDTU software, capable of capturing and interpreting this information thanks to a box based on an ESP32 programmable card and an NRF24L01+ card for the radio part.
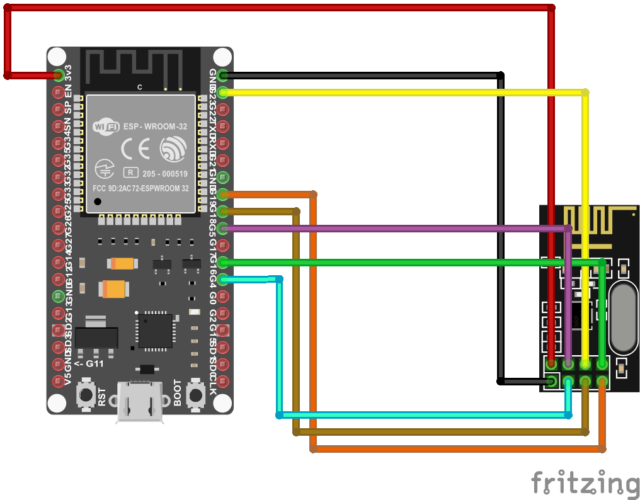
For DIY enthusiasts, everything is explained on the OpenDTU project page. If you're a fan of Arduino, ESP32, etc., assembly shouldn't pose much of a problem, and the project page even suggests 3D-printable box models to accommodate all the electronics.
For the rest of us, well, some people offer ready-to-use assemblies from time to time, like this model I ordered from Mathieu here (feel free to join his discord for more information).
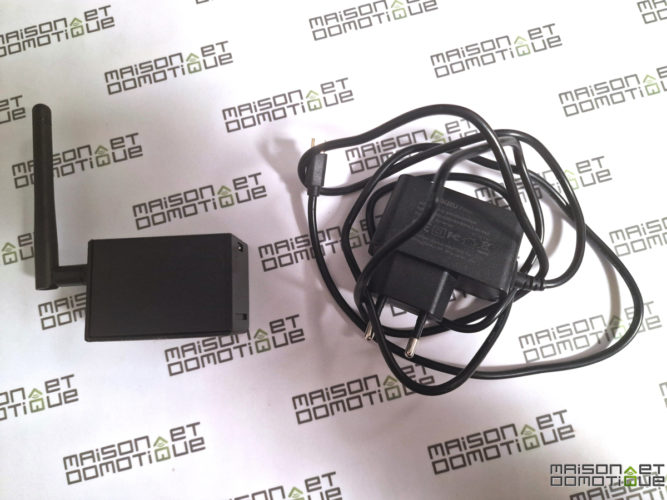
This little box includes everything you need, neatly housed in a 3D-printed case.
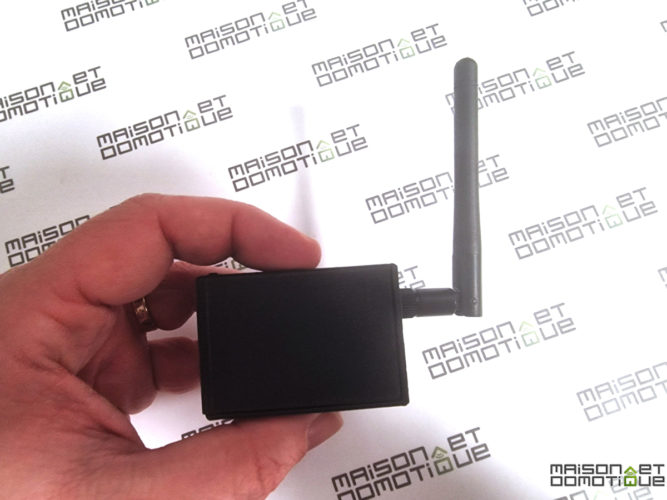
We even have access to the ESP32's two control buttons for rebooting, as well as the status LED for checking that information has been received.
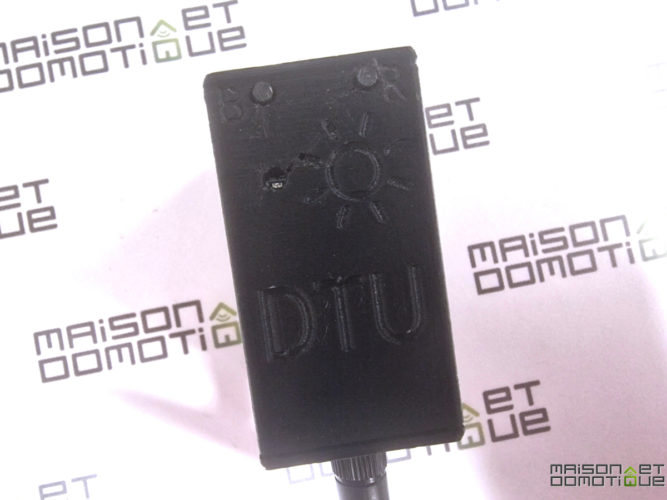
The whole unit is powered by a micro Usb power supply, supplied as standard.
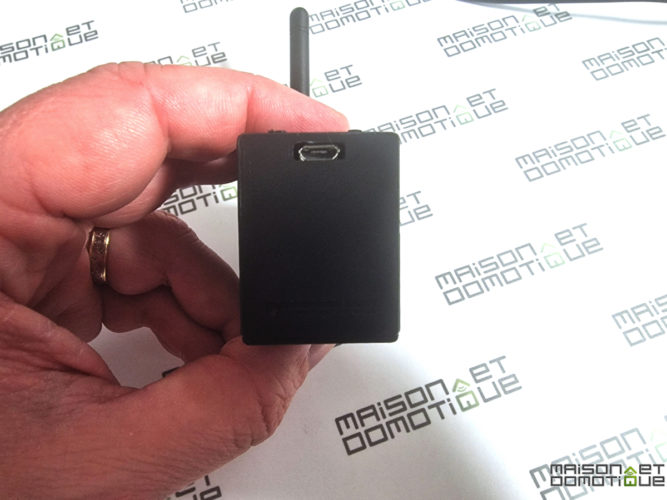
For communication, the system simply uses the Wifi connection managed by the ESP32.
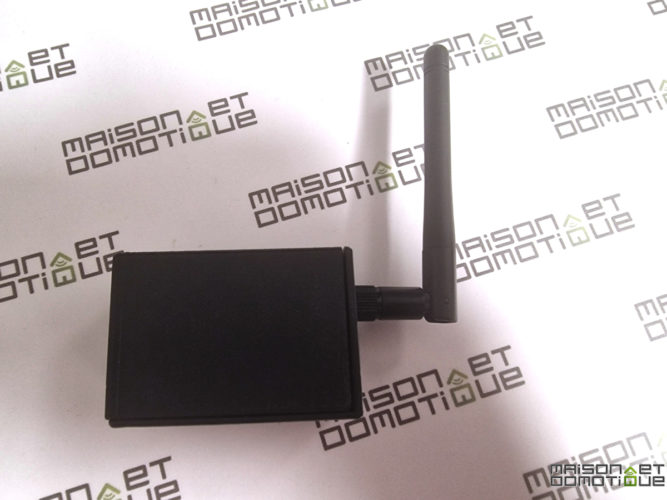
For those who don't want to bother, or who don't know their way around, this is the easy solution that works perfectly!
This box comes with OpenDTU software, which can be used to read a wide range of data:
For each microinverter:
- Make, model and serial number
- Energy produced since installation
- Energy produced over the day
- Current power output
- Output current and voltage
- DC-to-AC conversion efficiency
For each panel:
- DC power generated by the panels
- Intensity and voltage
- Irradiance
Reading this information enables you to monitor your solar panels perfectly, to watch out for unforeseen shadow zones, see the impact of the inclination and orientation of a panel immediately, compare different panel positions with one another, track your actual, daily and cumulative production (W and kWh) per inverter, help determine production losses due to cable, etc.
But this software also has a particularly interesting feature: the ability to send information to a home automation system via MQTT. While Home Assistant is clearly announced in the OpenDTU description, this is also possible with Jeedom!
Configuring Beem and Sunology inverters on OpenDTU
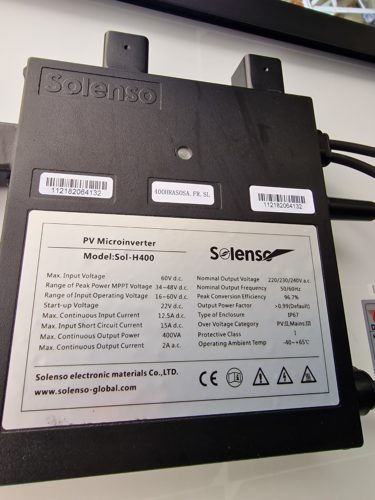
OpenDTU is regularly updated to add new features and supported models. Today it is compatible with Hoymiles HM-300, HM-350, HM-400, HM-600, HM-700, HM-800, HM-1000, HM-1200, HM-1500, Solenso SOL-H400 inverters. The good news is that HM-300, 350, 400, are used by Beem Energy and Sunology stations! Be careful, though:
- Beem Energy: on my first Beem station, dating from almost two years ago, the inverter was AEConversion, and therefore not compatible. On the other hand, theBeem extension I installed last year uses an HM-300, perfectly supported by OpenDTU.
- Sunology: the manufacturer uses HM-350, HM-400 and Solenso H400 models. No problem, all these models are perfectly supported by OpenDTU!
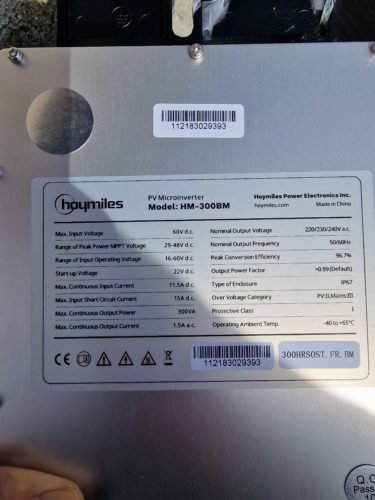
All you need to do is retrieve the serial numbers of each microinverter, visible on a small label on the inverter itself. For Hoymiles inverters installed on Sunology stations, you'll need a wrench to unscrew the inverter from the frame, as the serial number is on the panel side, so cannot be seen without dismantling. It takes just 5 minutes.
To begin configuration, you'll need to plug the OpenDTU into an electrical outlet not too far from the inverters, so that it can pick up their information. Well, the model I've got is pretty good, since it can pick up the inverters at a distance of around fifteen meters, with an exterior breeze-block wall and two plasterboard walls to cross.
You then need to connect to the Wifi (point-to-point) network it has created, which will be called OpenDTU-xxxx. The password in my case is openDTU42, to be adjusted according to the model you've bought/made. We arrive on this home page:
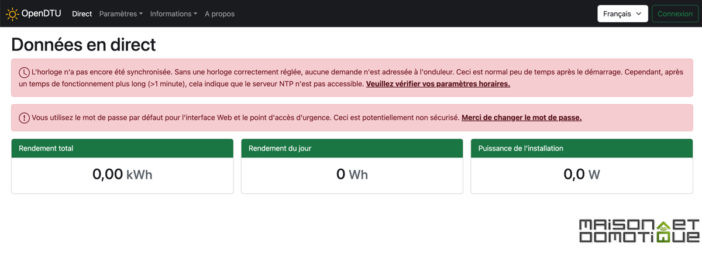
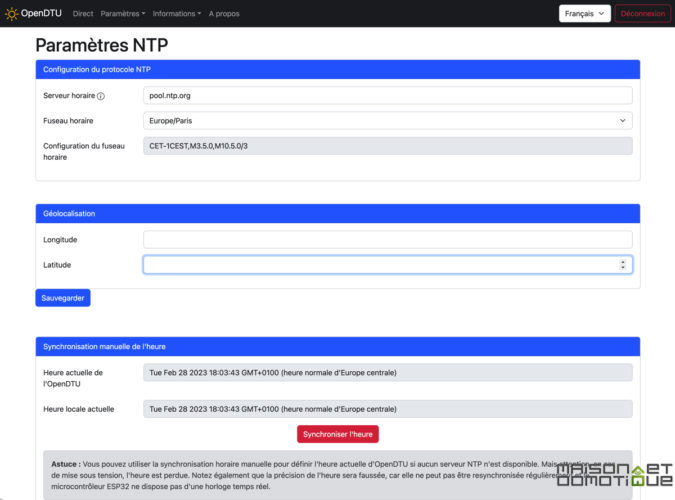
Log into OpenDTU with the admin / openDTU42 pair. To begin, you need to synchronize the system time, by going to Settings / NTP, and clicking on the red “Synchronize time” button (adjusting your time zone if necessary).
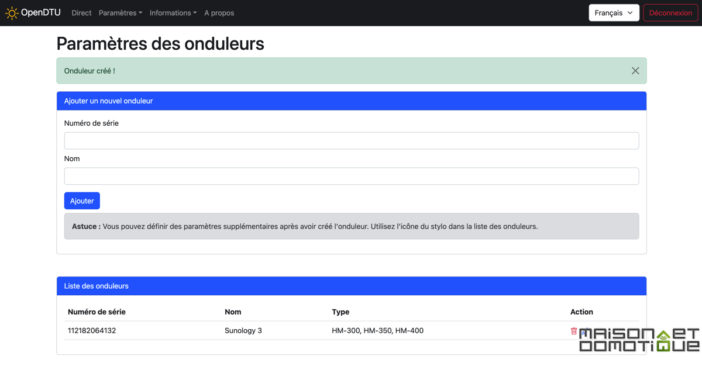
You can now add your inverters by going to Settings / Inverter settings. All you need to do is enter the serial number of each microinverter, and give it a name to identify it:
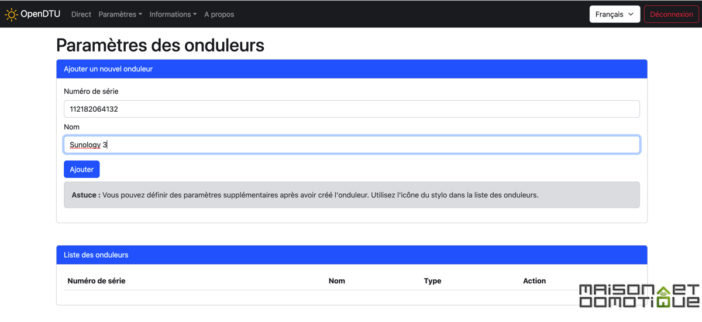
We validate and our microinverter is added:
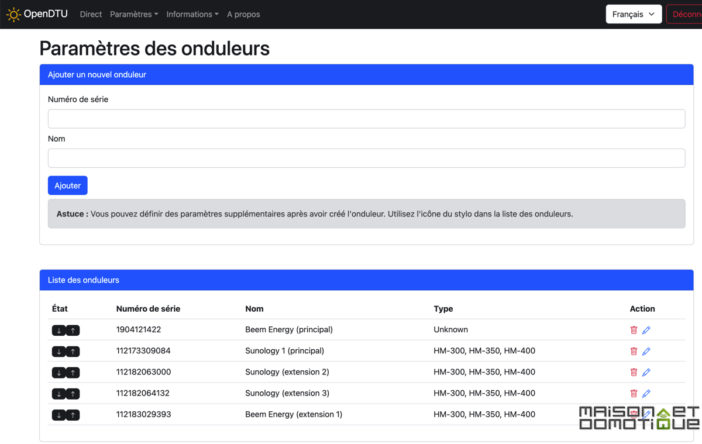
We can now add all the microinverters equipping our solar stations: yes, a single OpenDTU is enough, even if we have several solar stations! They just have to be within range of the radio antenna. So here I've entered my 3 Sunology panels, but also my two Beem Energy panels. Unfortunately, as you can see, my first Beem kit is not recognized (AEConversion brand). But it's ok for the more recent extension:
We then start receiving instant information from each inverter, visible on the home page:
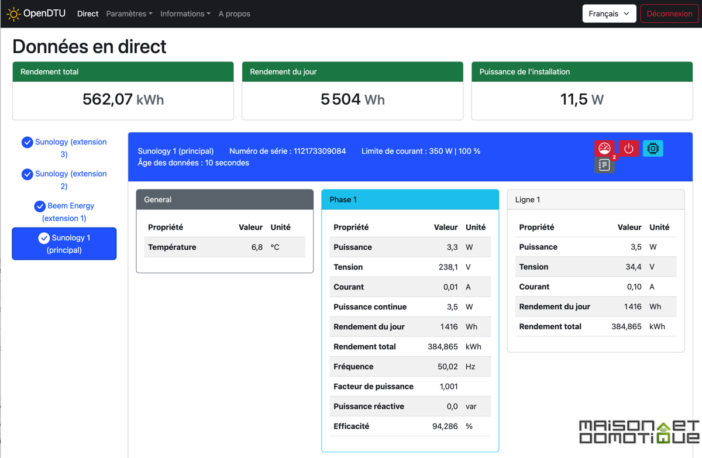
As you can see, the information is very comprehensive!
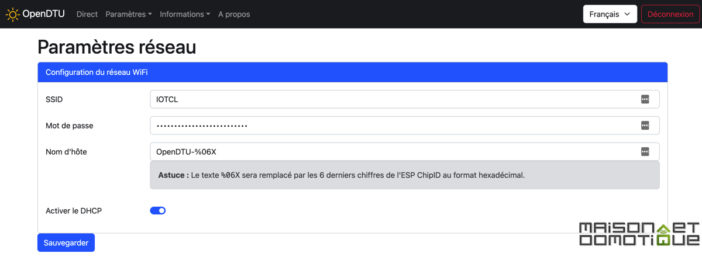
Once operation has been validated, we can modify the Wifi network so that the OpenDTU connects to our local network, making it accessible to other machines or users. Enter the name of your Wifi network and its key. OpenDTU will restart and connect to our network:
Now we need to install MQTT on Jeedom…
Installing MQTT on Jeedom
Jeedom now has an official MQTT Manager plugin:
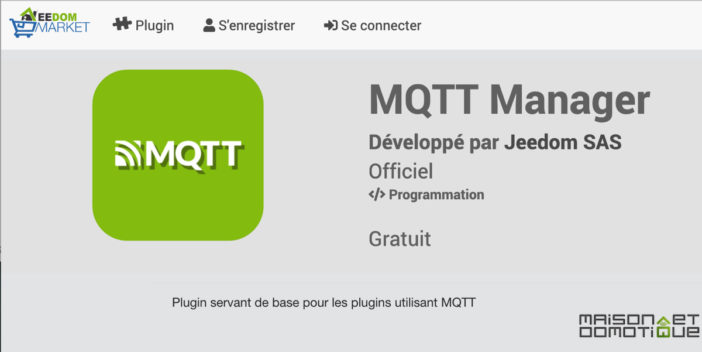
On the new Jeedom Luna box, it is installed natively, as it is used in particular for the Zwave plugin. On another box, you'll need to install it via plugin management. If you don't already have an MQTT broker, you can install one directly on Jeedom. Simply select the “Local Broker” mode and install Mosquito via the button below. Then enter a username and password to be used to connect to the broker:
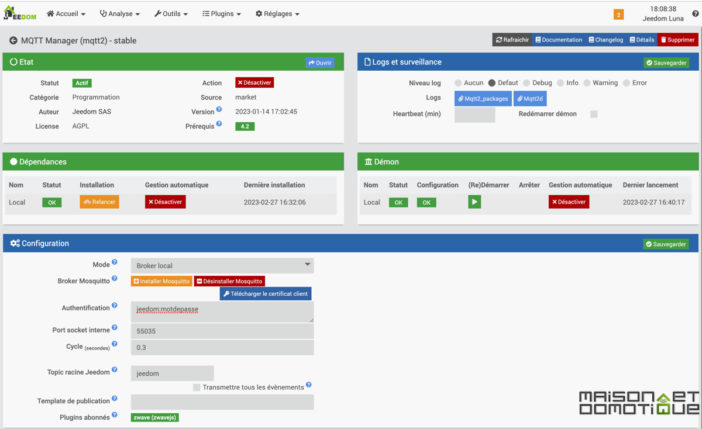
The “broker” is the service that will “listen” to all the information sent to it. This information can then be processed as required.
We now return to OpenDTU to finish configuring MQTT.
Activating MQTT on OpenDTU
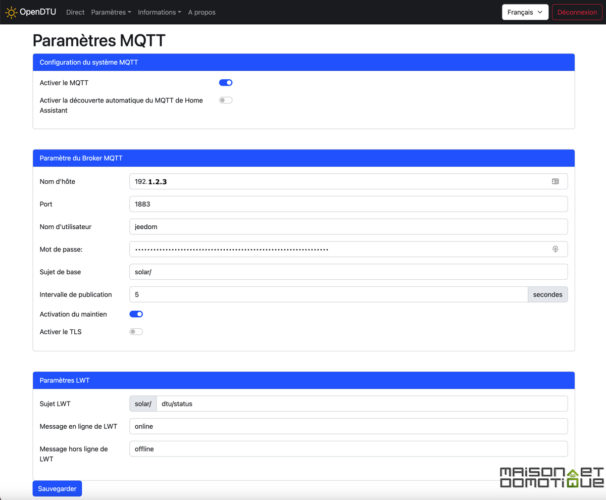
Now that our MQTT broker is “listening” on Jeedom, all that remains is to send it information. To do this, on OpenDTU, in Settings, MQTT, activate the service. In the parameters that appear below, enter the IP address of our Jeedom box hosting MQTT, then the user name and password defined when configuring MQTT Manager on Jeedom:
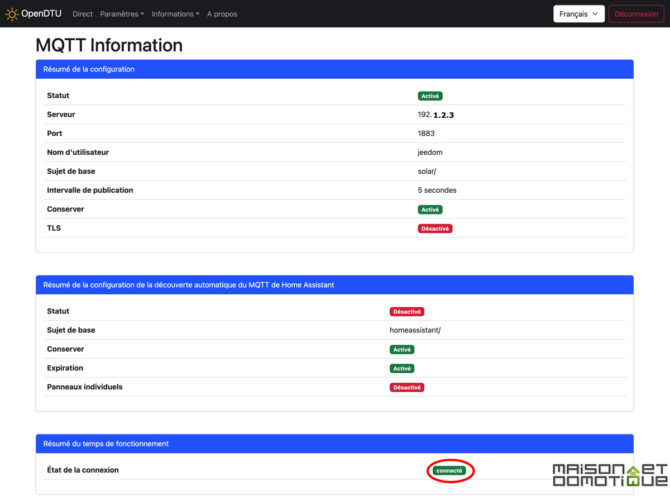
Now, in the Information / MQTT menu, at the very bottom of the page you should see “Connection status” at “Connected” in green. So everything's ok! If not, check your MQTT parameters: IP, port, login.
That's it for OpenDTU configuration. You can place this little box anywhere you like, as long as it has an electrical socket and is within radio range of the solar stations. You won't need to access it again.
Adding Sunology and Beem inverters to Jeedom
All that remains is to add the information we want to display in Jeedom on our microinverters. This is the most tedious part, but it's done very quickly. Via the Plugins / Programming / MQTT Manager menu, we ask to add a new device:

In “Topic root”, enter “solar” (or whatever you entered on OpenDTU if you've modified it). No “/” or anything else.
Next, in the “Commands” section, we'll create all the commands for each item of information to be displayed. All information is detailed here, via the list of MQTT topics.
For example, I've created these “Info” commands. Just copy and paste the type of topic you want to retrieve, taking care to replace [serial] with the serial number of the inverter for which you want to display the information:
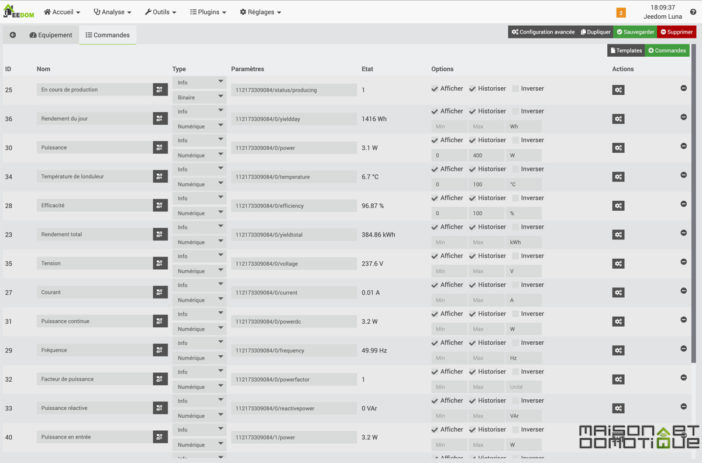
If you have several microinverters to track, I advise you to create all the commands for the first one, as you wish to display them, taking the time to configure the type of information, display, etc. Then simply click on “Display”. Then simply click on “Duplicate” and replace the microinverter serial number on each command. This will be much faster than having to configure each microinverter from A to Z ;-)
Having several solar stations, I've also created a Virtuel with two controls, which simply sum up the power and daily production of all the solar stations. This will allow me to see at a glance my total production for the day:

In the end, I have this dashboard that lets me keep track of all the information from the various microinverters, with even the daily production graph at the bottom of each tile:
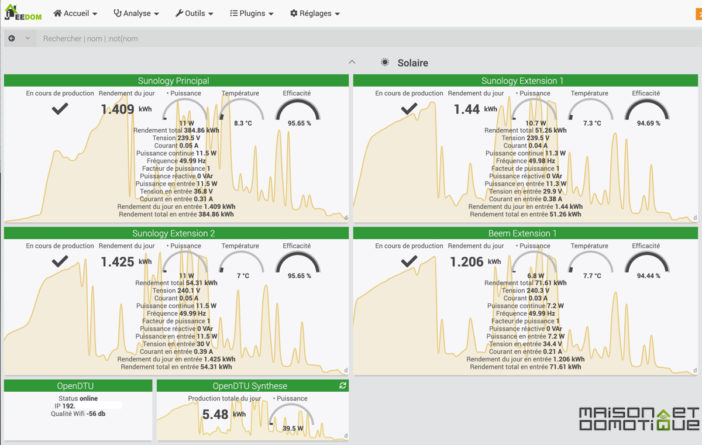
Of course, this is just an idea for presentation purposes: on Jeedom, everyone is free to configure the display as they wish :)
Conclusion
I discovered OpenDTU by chance on social networks, and I must say it's an excellent discovery! We'd already seen how to track our solar production using ZigBee sockets on Jeedom, but that meant investing in a connected socket for each solar station, and in the end we only got the production back. With OpenDTU, we can go much further, with the performance of each panel, whereas with a connected socket, we only had a single reading if we had, for example, a solar station + 2 extensions. But in addition to power and production, we also have many other monitoring elements, such as inverter temperature, efficiency, radiation rate and so on. All directly from the microinverters. It couldn't be more reliable! Another big advantage is the possibility of building the OpenDTU box yourself, at very little cost, which will then enable you to monitor all compatible solar panels, however many there are. So it's a complete, cost-effective solution!
If you don't already have a solar station, I'd like to remind you of these special offers thanks to our exclusive codes:




Please remain courteous: a hello and a thank you cost nothing! We're here to exchange ideas in a constructive way. Trolls will be deleted.