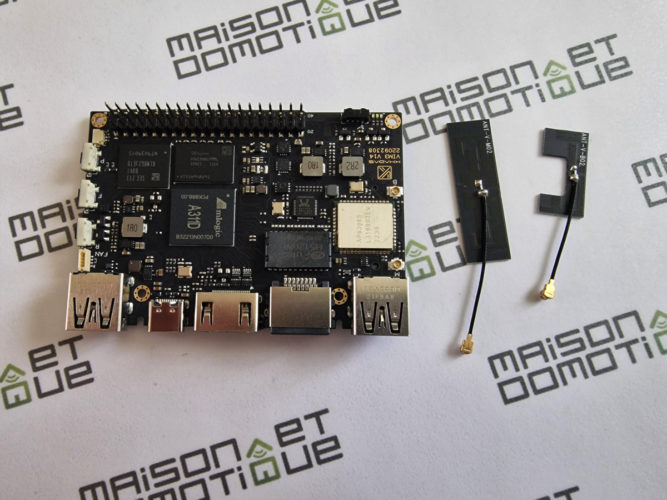
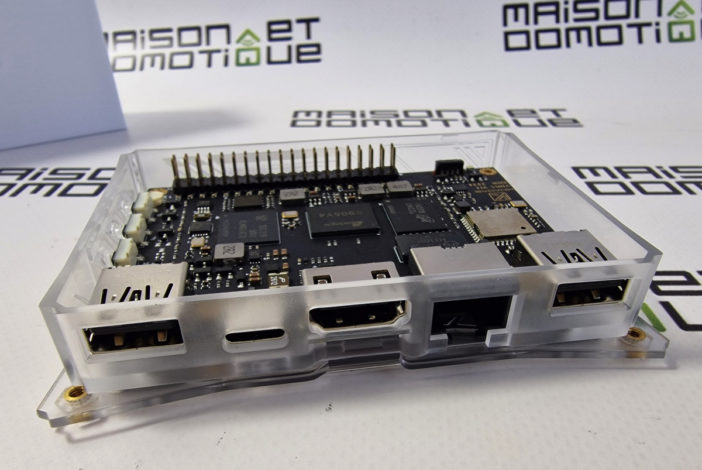
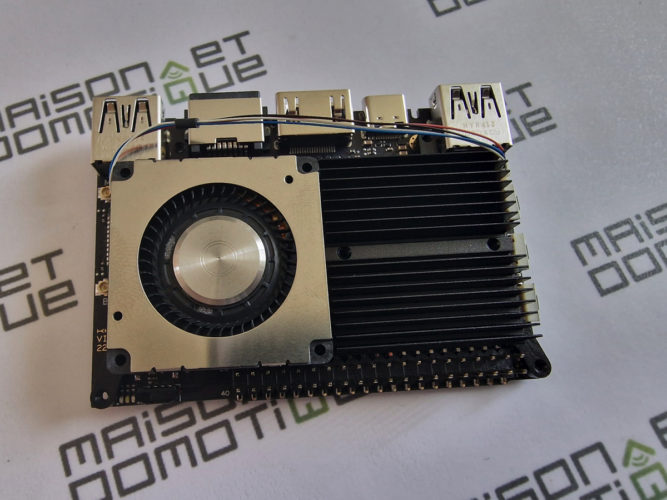
A few weeks ago, I introduced you to the Khadas Vim1S card, a perfect alternative to the Raspberry Pi, on which we installed the Home Assistant home automation system. Since the manufacturer offers several versions of this type of card, today I'm introducing you to the Khadas Vim3 Pro, which is more powerful for power-hungry systems. Whether it's for a home automation box, a retro game console, or a media center, this extra power will be of interest to many! Introducing the Khadas Vim3 ProThis card is very similar to the Vim1S or a Raspberry Pi, but in a credit card format, measuring only 8 x 5.8 cm. It comes with its own Wi-Fi and Bluetooth antenna (5): Several versions are available. Here, we're looking at the Khadas Vim3 PRO, featuring 4GB of DDR4 memory and 32GB of eMMC storage. The “classic” version only offers half of these features.Otherwise, the specs are the same, including a powerful Amlogic A311D processor – x4 2.2Ghz Cortex A73, x2 1.8Ghz Cortex A53, and an 800Mhz ARM G52 MP4 GPU supporting 4K at 75fps. The HDMI 2.1 output is also compatible with HDR10, HDR10+, HLG HDR, HDCP 2.2, and even 3D, making it a perfect media center capable of supporting all formats! The connectivity is still very comprehensive, as in addition to the 4K HDMI output, there are two USB-A ports, one USB-C port, a gigabit Ethernet port, a 40-pin GPIO port, and a 30-pin IO port.
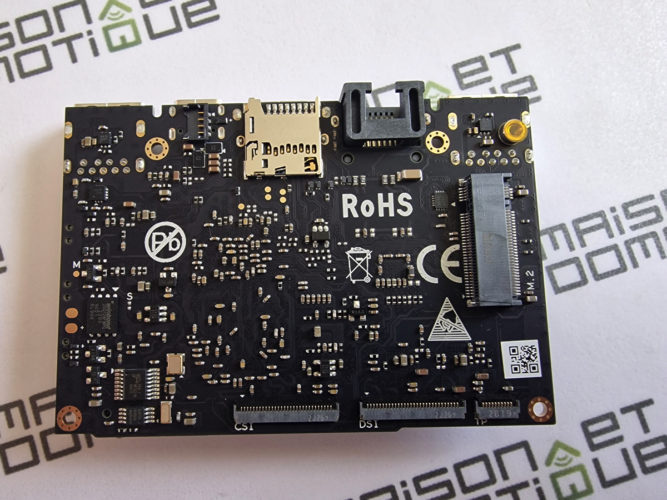
On the bottom, there's a microSD slot, although it won't be the most used: the Khadas Vim3 Pro actually includes 32GB eMMC memory, which is much more viable, and can even accommodate an M2 NVMe SSD drive!
On the side, three buttons allow you to control the card if necessary: power, reset, and function.
Let's not forget the infrared sensor, which is useful for remote control in a media center, for example.
In short, it's complete! And I haven't even listed all the features yet, as this board even includes a gyroscope to detect the screen's rotation direction, a MIPI-DSI interface, and more. I invite you to find the details on the manufacturer's official website.
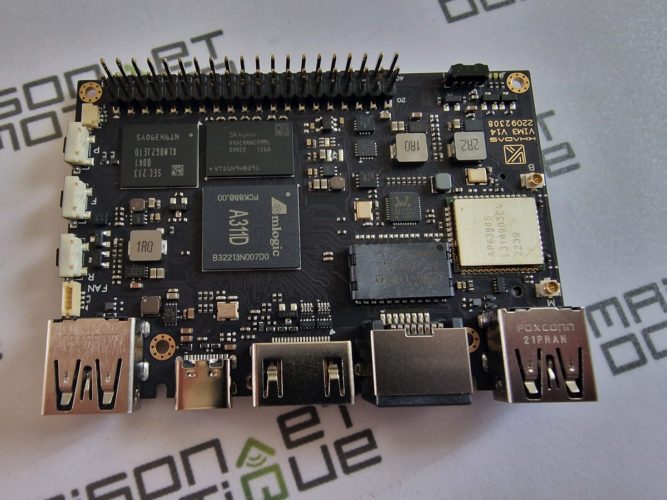
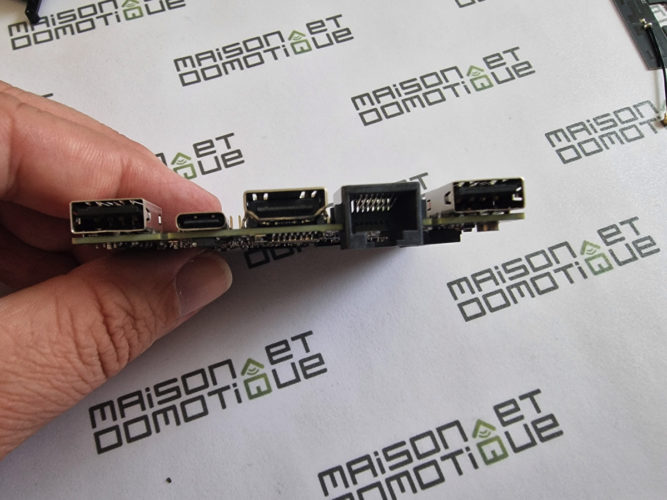
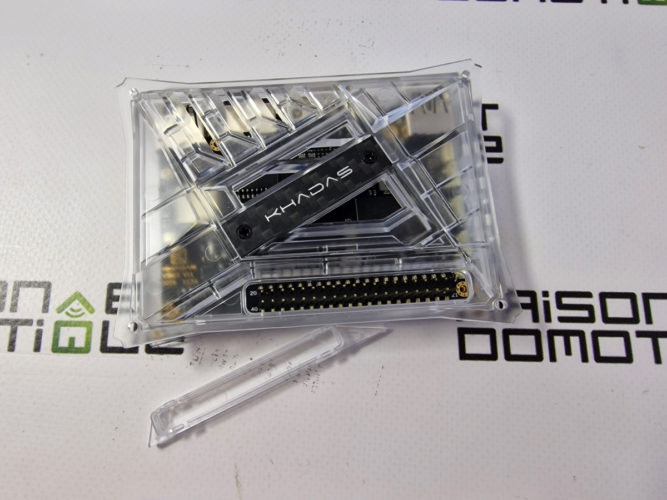
Although it has the same format as a Raspberry Pi, it isn't compatible with Raspberry Pi cases. Fortunately, the manufacturer offers a wide range of accessories, including a case, which we already discovered in our Vim1S review. We find exactly the same case here.
It's a truly versatile and very practical model, which I highly recommend!

So let's move on to installing the software…
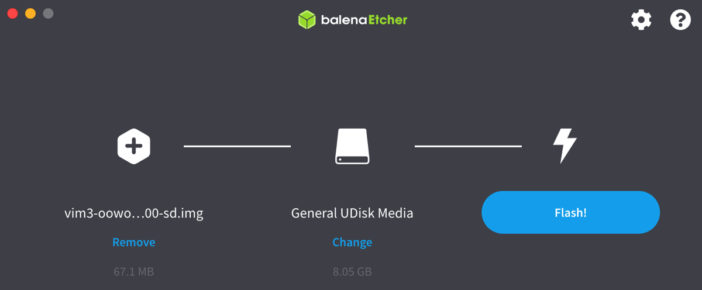
Installing Home Assistant on the Khadas Vim3 Pro Unlike the Vim1S, the 3 Pro version doesn't natively include the manufacturer's OOWOW system, allowing you to choose which system to install upon startup. The Khadas Vim3 Pro therefore launches directly under Android upon first startup. As we saw previously, Khadas cards can run on both Android and Linux.While the Android system can be very useful for a media center, for example, what we want today is to install the Home Assistant home automation system. We'll therefore prepare a micro SD card or a USB flash drive with the OOWOW system, which will make our task easier, as Home Assistant is officially supported by this Vim3 Pro. We start by downloading the OOWOW image from the manufacturer's website. Then, using the Balena Etcher software, we write this image to a USB flash drive or microSD card. Simply select the downloaded image, specify the USB flash drive or microSD card to write to, and start the “Flash” process.
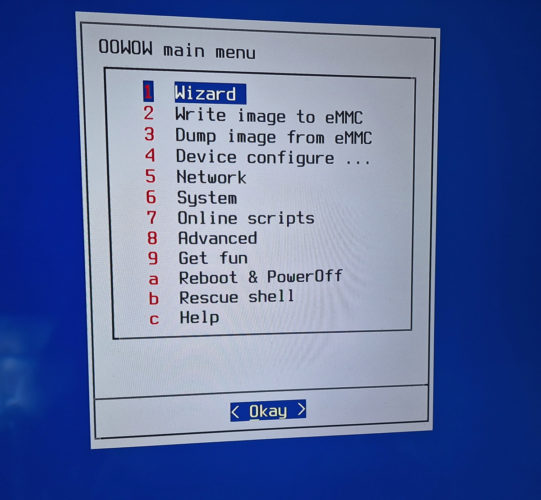
Once the micro SD or USB flash drive is written, insert it into the Vim3. Connect it to a screen, an Ethernet cable, a USB keyboard, and then a USB-C power supply. If the Khadas Vim3 Pro doesn't automatically boot into the OOWOW system, you may need to do the following: once the Vim3 is turned on, press and hold the Power button, then briefly press the Reset button without releasing it. After 2-3 seconds, release the Power button: the Vim3 Pro will then boot into the OOWOW wizard:
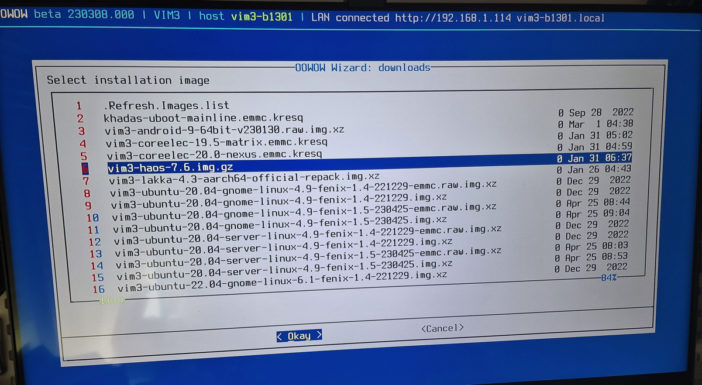
Here, simply select “Wizard,” which will offer a list of systems natively compatible with the Khadas Vim3 Pro:
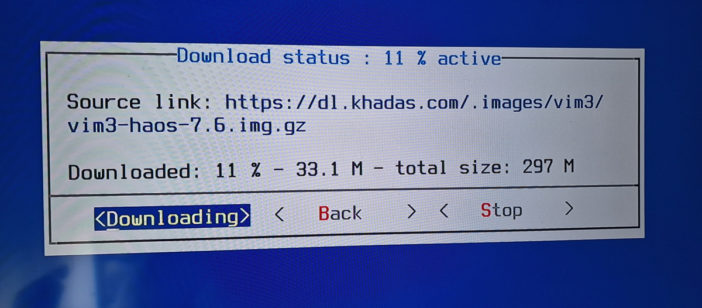
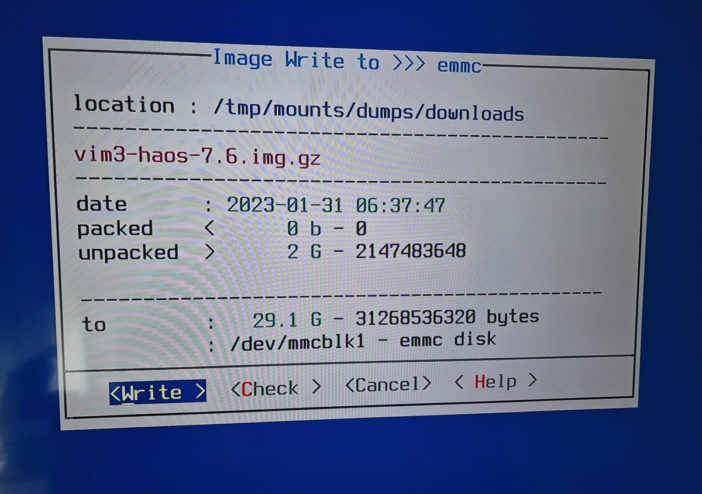
There is a wide selection of systems: from the classic Ubuntu Linux system to Android, including Coreelec for creating a Media Center, or even Home Assistant for creating a home automation box. Select the latter and confirm: the system will be downloaded automatically. Once the download is complete, write it to the eMMC memory by simply confirming the screen:
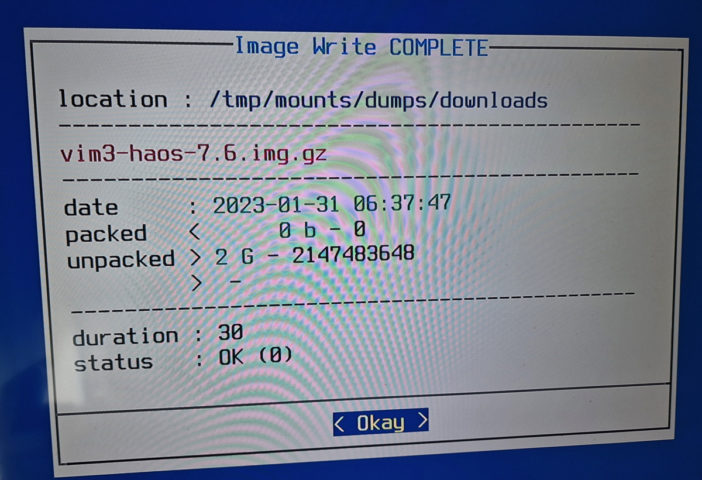
After a few seconds, the system is written.
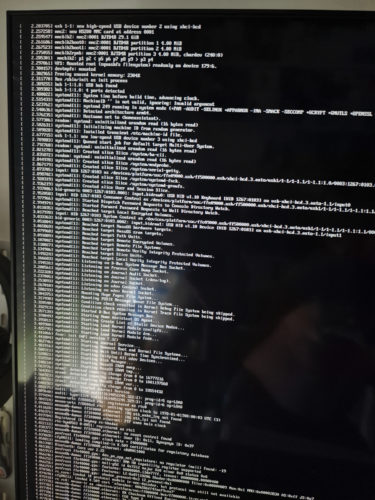
Confirm, remove the USB drive or micro SD card, and ask the system to reboot. Several lines will scroll across the screen: this is normal; Home Assistant continues its installation at startup.
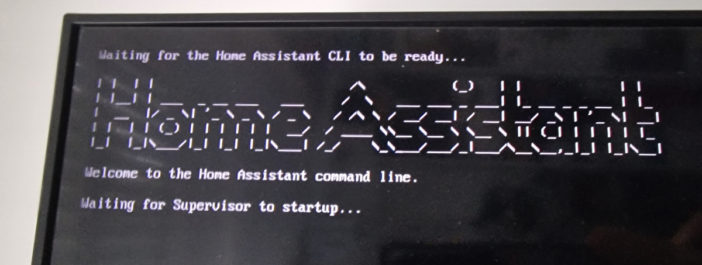
At the end, the system displays the Home Assistant logo and the Vim3 Pro's IP address.

You can then connect with a web browser to the specified IP address and port 8123. You may have to wait for the Home Assistant installation to complete; a message will then inform you:
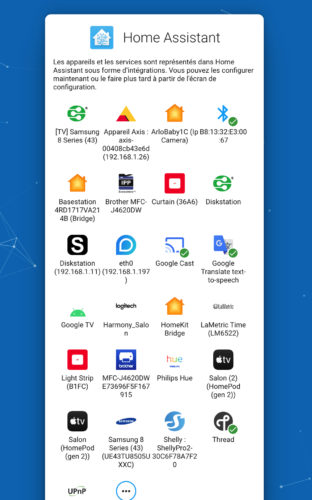
Once the installation is complete, you will be prompted to create a user account: Then the system offers to add the various devices already detected on your network:This is the great advantage of Home Assistant: right from the start, you can start with many connected devices automatically recognized :)
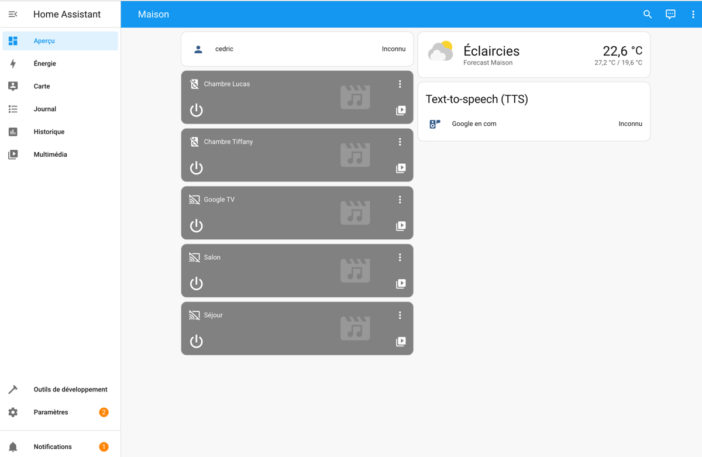
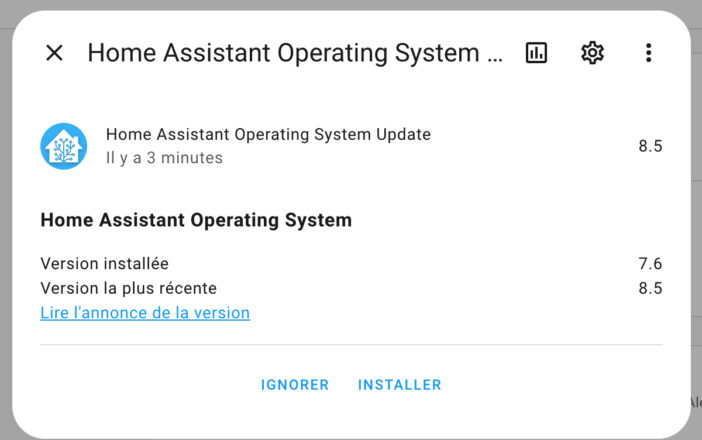
The first thing to do, however, is to update Home Assistant via the Settings menu at the bottom left: As you can see in the image, Khadas is a few versions behind. But that's not a problem; the update is done in one click.Otherwise, using Home Assistant is like using any other system. Here, we have a complete version of Home Assistant, equipped with the Supervisor, and capable of supporting the system's numerous plugins and extensions.
You can then add various USB dongles if you want to add support for certain protocols, such as ZigBee, Zwave, etc.
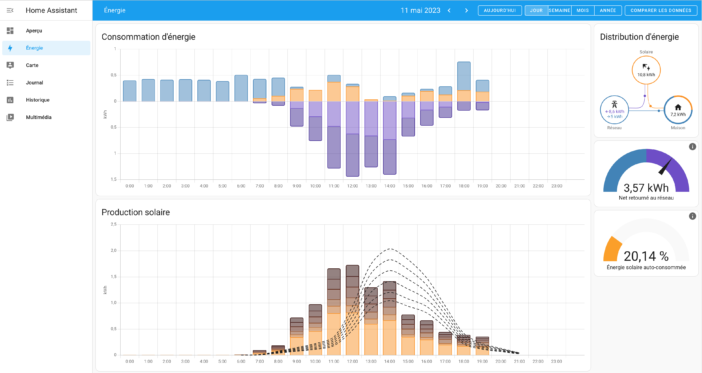
This is, of course, not mandatory. Here, I use Home Assistant primarily to track my electricity production and consumption, and to serve as an interface for most of my systems (from Jeedom to my Google Assistants, etc.). The extra power will allow me to set up a more comprehensive data and statistics system, to create more complete reports.
Conclusion
This Khadas VIM3 Pro has been running at home for a few weeks now, and I have to say it's a real blast! The Vim1S had already won me over with its excellent value for money, but this Vim3 is excellent for those looking for more power while maintaining a competitive price, since it's priced at just under €175.
This VIM3 Pro is fast, capable of supporting numerous systems, whether it's a home automation box, a retro game console, a media center, etc. You can also add some very interesting accessories, such as this cooling system, because power also means more heat:
I also have a project underway with the M2X expansion card, which adds a POE Ethernet port, allowing the card to be powered with a single network cable. It also offers other possibilities, such as adding an M2 drive or 4G support.

In short, if you have projects involving this type of box, this is an option worth considering, as the solution is comprehensive and truly functional.

Retailing for just under €175, the Khadas Vim3 Pro is more expensive than its little brother, the Vim1S, at €75. But its power is much greater, and it's perfect for more demanding projects. The Khadas catalog truly offers solutions for all needs and budgets. Personally, I love it!




Please remain courteous: a hello and a thank you cost nothing! We're here to exchange ideas in a constructive way. Trolls will be deleted.